By: J. A. Montoya
To the public it is a little known fact that different types of plastic can differ widely on the process that is required in order to recycle them. One common example is plastic bottles, where the bottles and their caps are made of PET and HDPE respectively (frequently Polypropylene is also used as a cap material). At the recycling facility bottles and caps need to be separated because their recycling process is different and this, at a large scale, implies high labor costs and possible waste of some of the material, depending on the separation method that is being used. In general, leaving the caps on the bottles is a better option than throwing them to the dumpster, however, it is important to remember that not every recycling facility around the world is guaranteed to be able to process different types of plastic. A better solution would be to leave the recycling of the transparent part of the bottles (the PET) to a specialized company and make sure that their plastic caps do not end up in a landfill by doing something useful with them at home.
Before going forward, we need to mention that we intend to use the recycled plastic as filament (raw material) for low-cost 3D-printing. The first source of abundant and cheap plastic that always comes to people’s minds is the bottle itself, which is made of PET (recycling code 1) . However, in order to feed this or any other plastic into a 3D-printer, we need first to make plastic filament of a constant diameter. In order to achieve this, PET needs to be heated up to a temperature that renders it soft (not liquid) so that it can be extruded by applying pressure through a hole with a size that will determine the diameter of the filament. The problem that one finds is that in the process of applying heat to PET it crystallizes and becomes brittle. To avoid this crystallization one would have to be very precise in controlling the temperature and the heating/cooling rates of the entire process, in order to keep PET in an amorphous form. The technical challenges inherent to this process make PET less suitable for a DIY project, like the one that we are trying to present here.
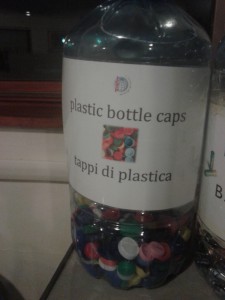
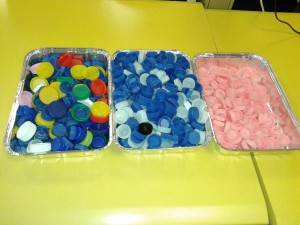
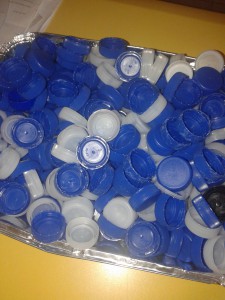
While Polypropylene (recycling code 5) is a very popular material to make bottle caps in many countries, in Italy, where we are located, most companies seem to prefer HDPE (recycling code 2) as a material for their plastic bottle-caps. We collected plastic caps in a nearby cafeteria and separated them by their material and color; this is where we noticed the Italian’s preference towards HDPE, since it made approximately 2/3 of the total of collected caps.
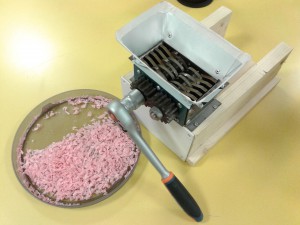
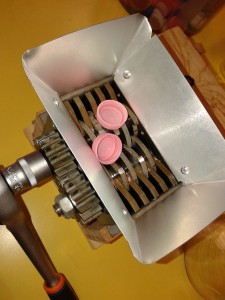
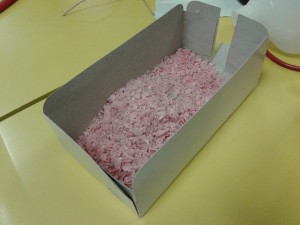
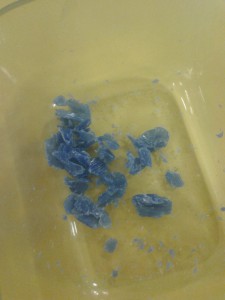
We started the process by shredding the pink-colored HDPE caps. This can be accomplished with some robust kitchen equipment or with specialized hardware.
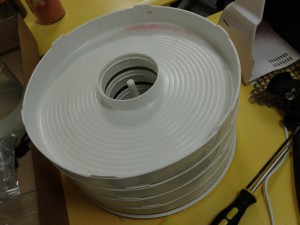
The resulting material needed to be dried before it goes into the filament extruder.
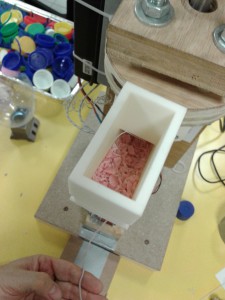
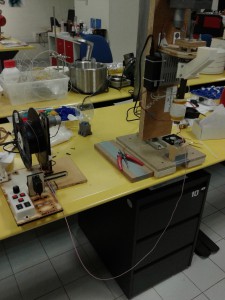
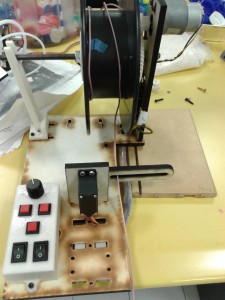
Then the filament extruder temperature was set to 132 C, and the feeding of the plastic could start. Each plastic cap will produce between 80 and 100 cm of filament at diameters around 1.75 mm.
Keep in mind that the filament comes out of the extruder very hot and it is very irregular at first; you should make sure that the weight of the filament that is hanging, as well as the extruding temperature, feeding rate, pressure, etc., remain constant, so that the diameter of the filament reaches some uniformity. If you are doing this for the first time don’t feed the resulting filament into a Makerbot, or into some high-end 3D-printer, it will get clogged and your warranty won’t cover it, try to get some practice first and measure the diameter at several points, to make sure that it is constant and has the desired thickness.
We repeated the same procedure with some blue HDPE caps and got a much nicer filament out of them, after all this was our second attempt :-)
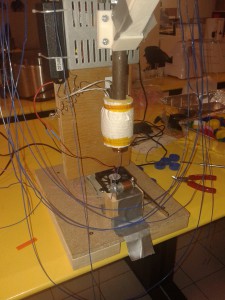
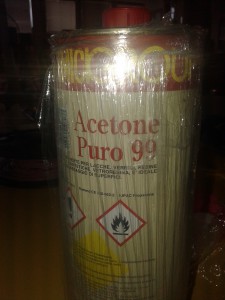
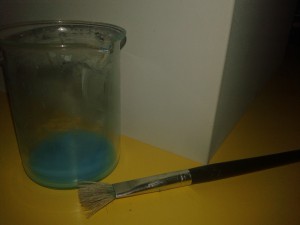
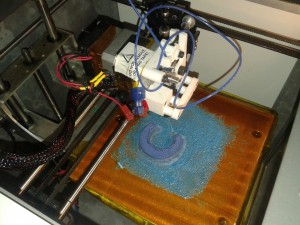
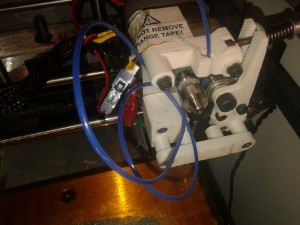
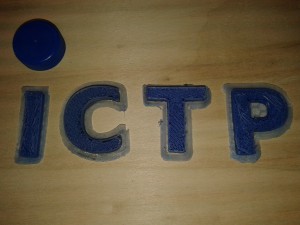
Now it comes the printing part. HDPE experienced a big contraction when it cooled after being extruded by the 3D-printer nozzle. We were not able to get it to stick for more than a few seconds to a clean and smooth hot surface, even after heating our printing bed up to 110 C, which exceeded the maximum bed-temperature in our Solidoodle 3D-printer. We then decided to prepare a mixture of ABS plastic with acetone and cover (paint) the plate with it.
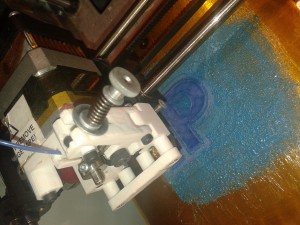
After this procedure the recycled plastic stuck nicely to the blue ABS layer, shown in the picture above.
The main challenge now was that the temperature that is required to guarantee a good flow of HDPE out of the printing nozzle seems to be 220 C or higher. The printer that we were using turned itself off at temperatures above 210 C, as a safety measure. The pink HDPE would stop flowing through the nozzle after just a few minutes because 210 C seemed to be very low for this type of plastic. The blue HDPE filament instead was a bit more amenable to flow at 210 C, but the stress that the extrusion gear was applying on it was too high and eventually surpassed its mechanical limit of stability, causing the filament to bend, which in turn caused it to stop going into the printer’s hot-end and nozzle.
So far, the final result is not what you would expect from a high-quality filament, but there is still a lot of room for improvement in both extrusion processes, i.e., when producing filament and when printing with it. Have you also experimented with HDPE? Do you have experience with Polypropylene or other plastics not discussed in this post? Let us know.
Team:
• Carlo Fonda
• Javier A. Montoya
We thank S. Faeta, M. Trivella, N. Bonaventure, and Tamara, for their collaboration during this project. For materials and equipment we received support from the ICTP’s Fabrication Laboratory, which is part of the Science Dissemination Unit (SDU) at ICTP.
Nov-2014

