Post introduttivo e indice.
Per la realizzazione dell’estrusore mi sono ispirato al tipo Wade Extruder ampiamente documentato in Internet ed utilizzato nella maggior parte delle stampanti di questo tipo.
Le parti necessarie per questa fase sono le seguenti:
Parti plastiche stampate in Fablab e da questa stampante:
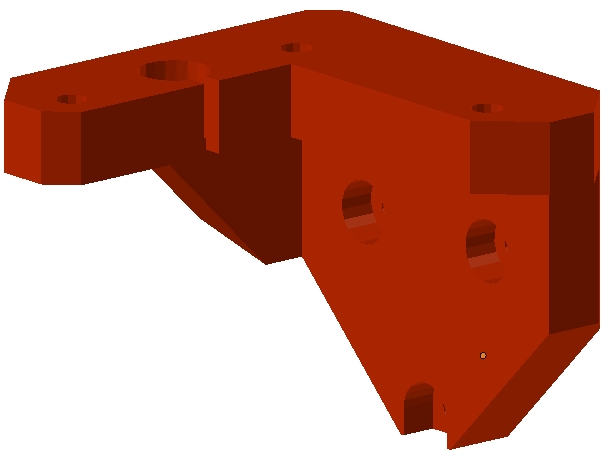
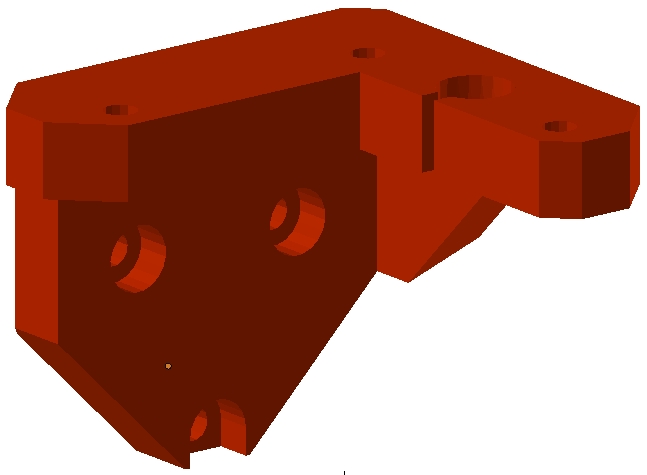
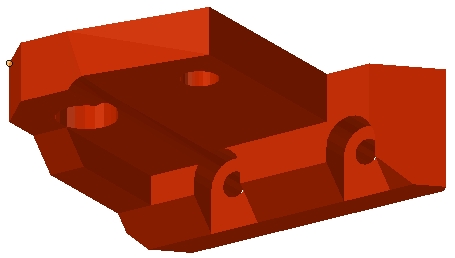
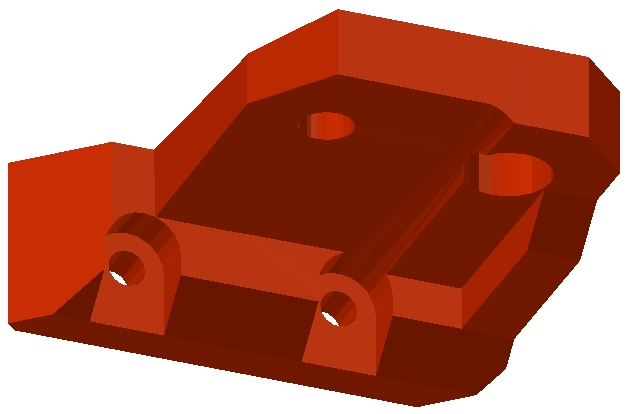
BODY-EXTRUDEUR-WADE-1.75mm-with-support
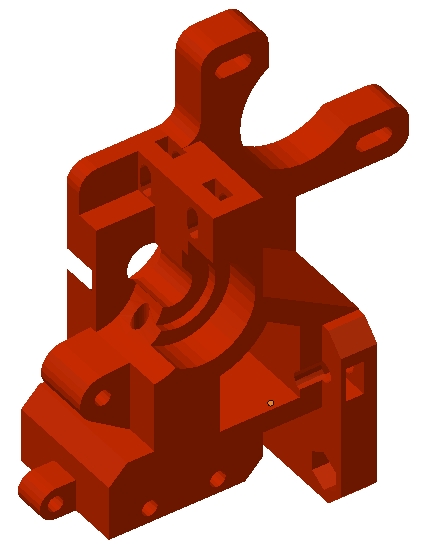
EXTRUDER-IDLER
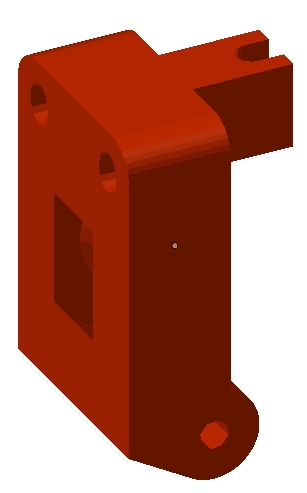
WADE-BIG-GEAR_43T
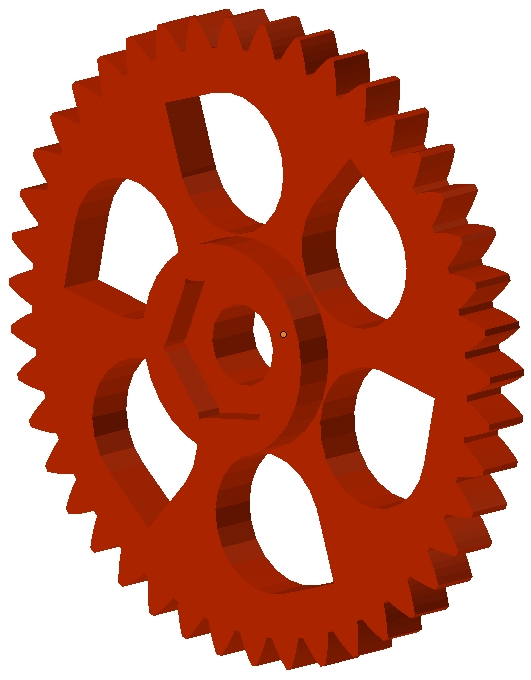
WADE-SMALL-GEAR_10T
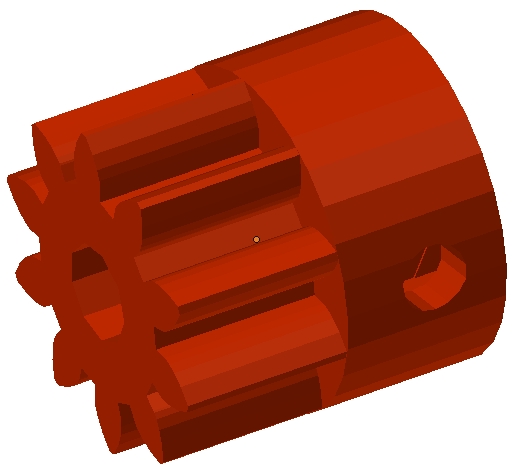
FAN-DUCT
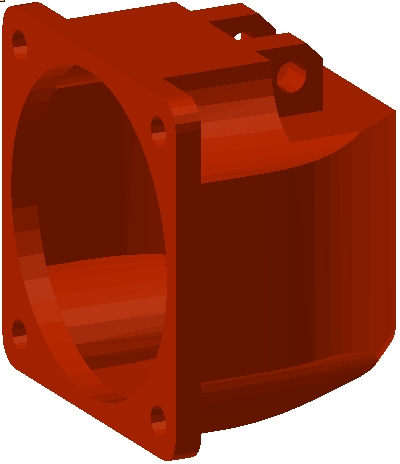
FAN-DUCT_PLA (può essere stampato in un secondo tempo)
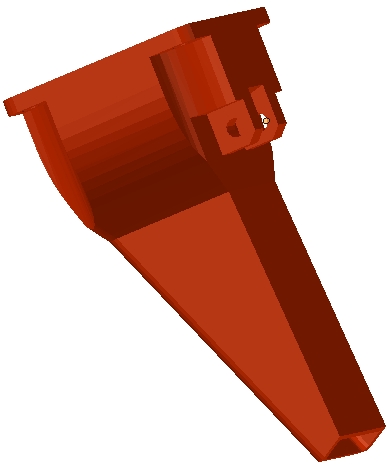
FAN_DUCT_PLA_SUPPORT (può essere stampato in un secondo tempo)
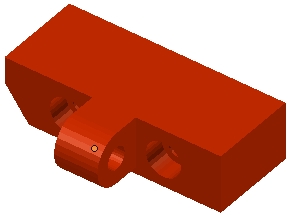
FAN GRID
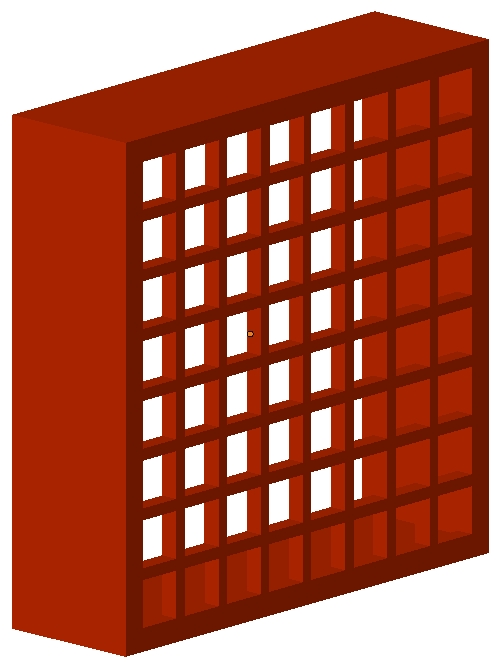 Di questa parte non pubblico il file STL perchè l’ho progettata in fretta e non mi piace. Lascio quindi libertà di scelta. (In internet se ne trovano di più belle).
Tutte queste parti devono essere stampate possibilmente in ABS, in particolare le prime 4 parti e il FAN_DUCT_PLA_SUPPORT dovranno avere un infill di almeno l’85/90% per garantire una maggiore solidità e resistenza al calore.
Le restanti 4 parti possono anche essere stampate in PLA in quanto non sottoposte a particolari sollecitazioni e fonti di calore.
I files STL sono scaricabili qui: parti plastiche Extruder
1 stepper motor

3 viti M3x12
rondelle con foro da 3mm per il fissaggio del motore
3 cuscinetti a sfere tipo 608
1 Hobbed Bolt con filetto M8 e gola zigrinata per filamento da 1,75mm
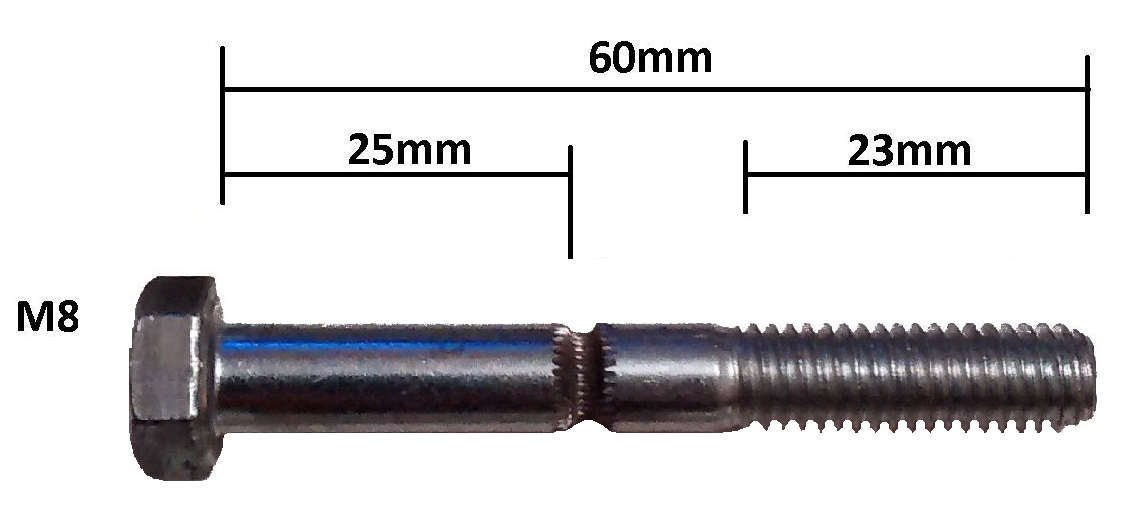
7-8 rondelle diametro 18-20mm e foro da 8 (le stesse usate per la struttura dell’asse Y)
1 Dado M8 autobloccante (nylonstop)
1 Hot End tipo E3D V6 completo di riscaldatore, termistore ugello da 0.4mm (nozzle) e ventillatore di raffreddamento già assemblati. Viene inoltre fornito con tubetto Bowden in caso si voglia utilizzare questo metodo di alimentazione del filamento.
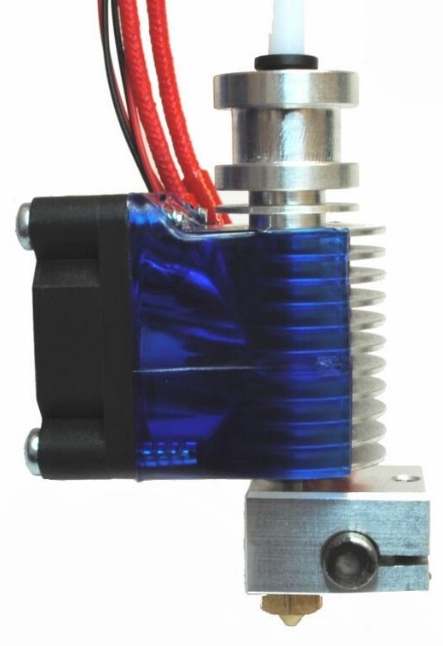
La descrizione originale del Hot End E3D V6 è la seguente:
Il modello E3D V6 è il migliore Hot End al momento disponibile capace di estrudere materiali come ABS, PLA, LAYWOO-D3, NYLON ed altri.
Si trova in vendita su Ebay a prezzi che vanno da 20 euro fino a 60 euro (per la versione originale al 100%)
Si trovano versioni denominate Full Metal che non hanno un tubicino in teflon (PTFE) nel tratto compreso tra il dissipatore e l’hothend e permettono di spingere l’estrusore a temperature fino a300 gradi.
Le versioni con tubicino di PTFE vanno usate con temperature massime di 240 gradi.
Il PTFE è un materiale autolubrificante che permette un agevole scorrimento del filamento all’interno dell’estrusore.
Io utilizzo da parecchio tempo e molto intensamente l’E3D V6 nella versione con PTFE e posso assicurare che non mi ha dato mai un problema.
La ventolina di raffreddamento del gambo deve essere collegata direttamente al 12V e deve perciò essere sempre accesa alla massima velocità.
L’estrusore E3D V6 è ordinabile per filamenti da 3mm e da 1,75mm, completo di ugello da 0.4mm intercambiabile, elemento riscaldante da 40W 12V, Termistore da 100Kohm dotati di cavi di collegamento da 50cm e guaine resistenti al calore.
Diametro ingresso filamento: Input Diameter – 1.75mm
Diametro filamento estruso: Output Diameter – 0.4mm
Elemento riscaldante: Heating Element – 12v (40W)
Corpo dissipante in Alluminio – Aluminium heatsink
Ugello in Ottone – Brass nozzle (0.4mm)
Blocco riscaldante – Heater block
– 100K ohm NTC thermistor Resistance: 100Kohm Accuracy: + / -1%
Temperature range: -50°+300°C Diameter: 2.0mm B Value: 3950k
– 12v 40W ceramic cartridge heater.
Profilo termico Marlin: 11
Riservare una particolare attenzione all’acquisto dell’HotEnd perchè da questo dipende per l’80% la qualità della stampa.
1 barra rettificata diametro 8mm lunghezza 20mm (dovrebbe far parte del kit di barre lisce acquistate in precedenza).
1 o 2 ventilatori da 40x40mm 12volt con almeno 1 mt di cavo bipolare da utilizzare per il raffreddamento del PLA stampato.
2 molle di tensionamento extruder idler (si possono usare le molle presenti all’interno delle mollette da biancheria comperate all’IKEA)
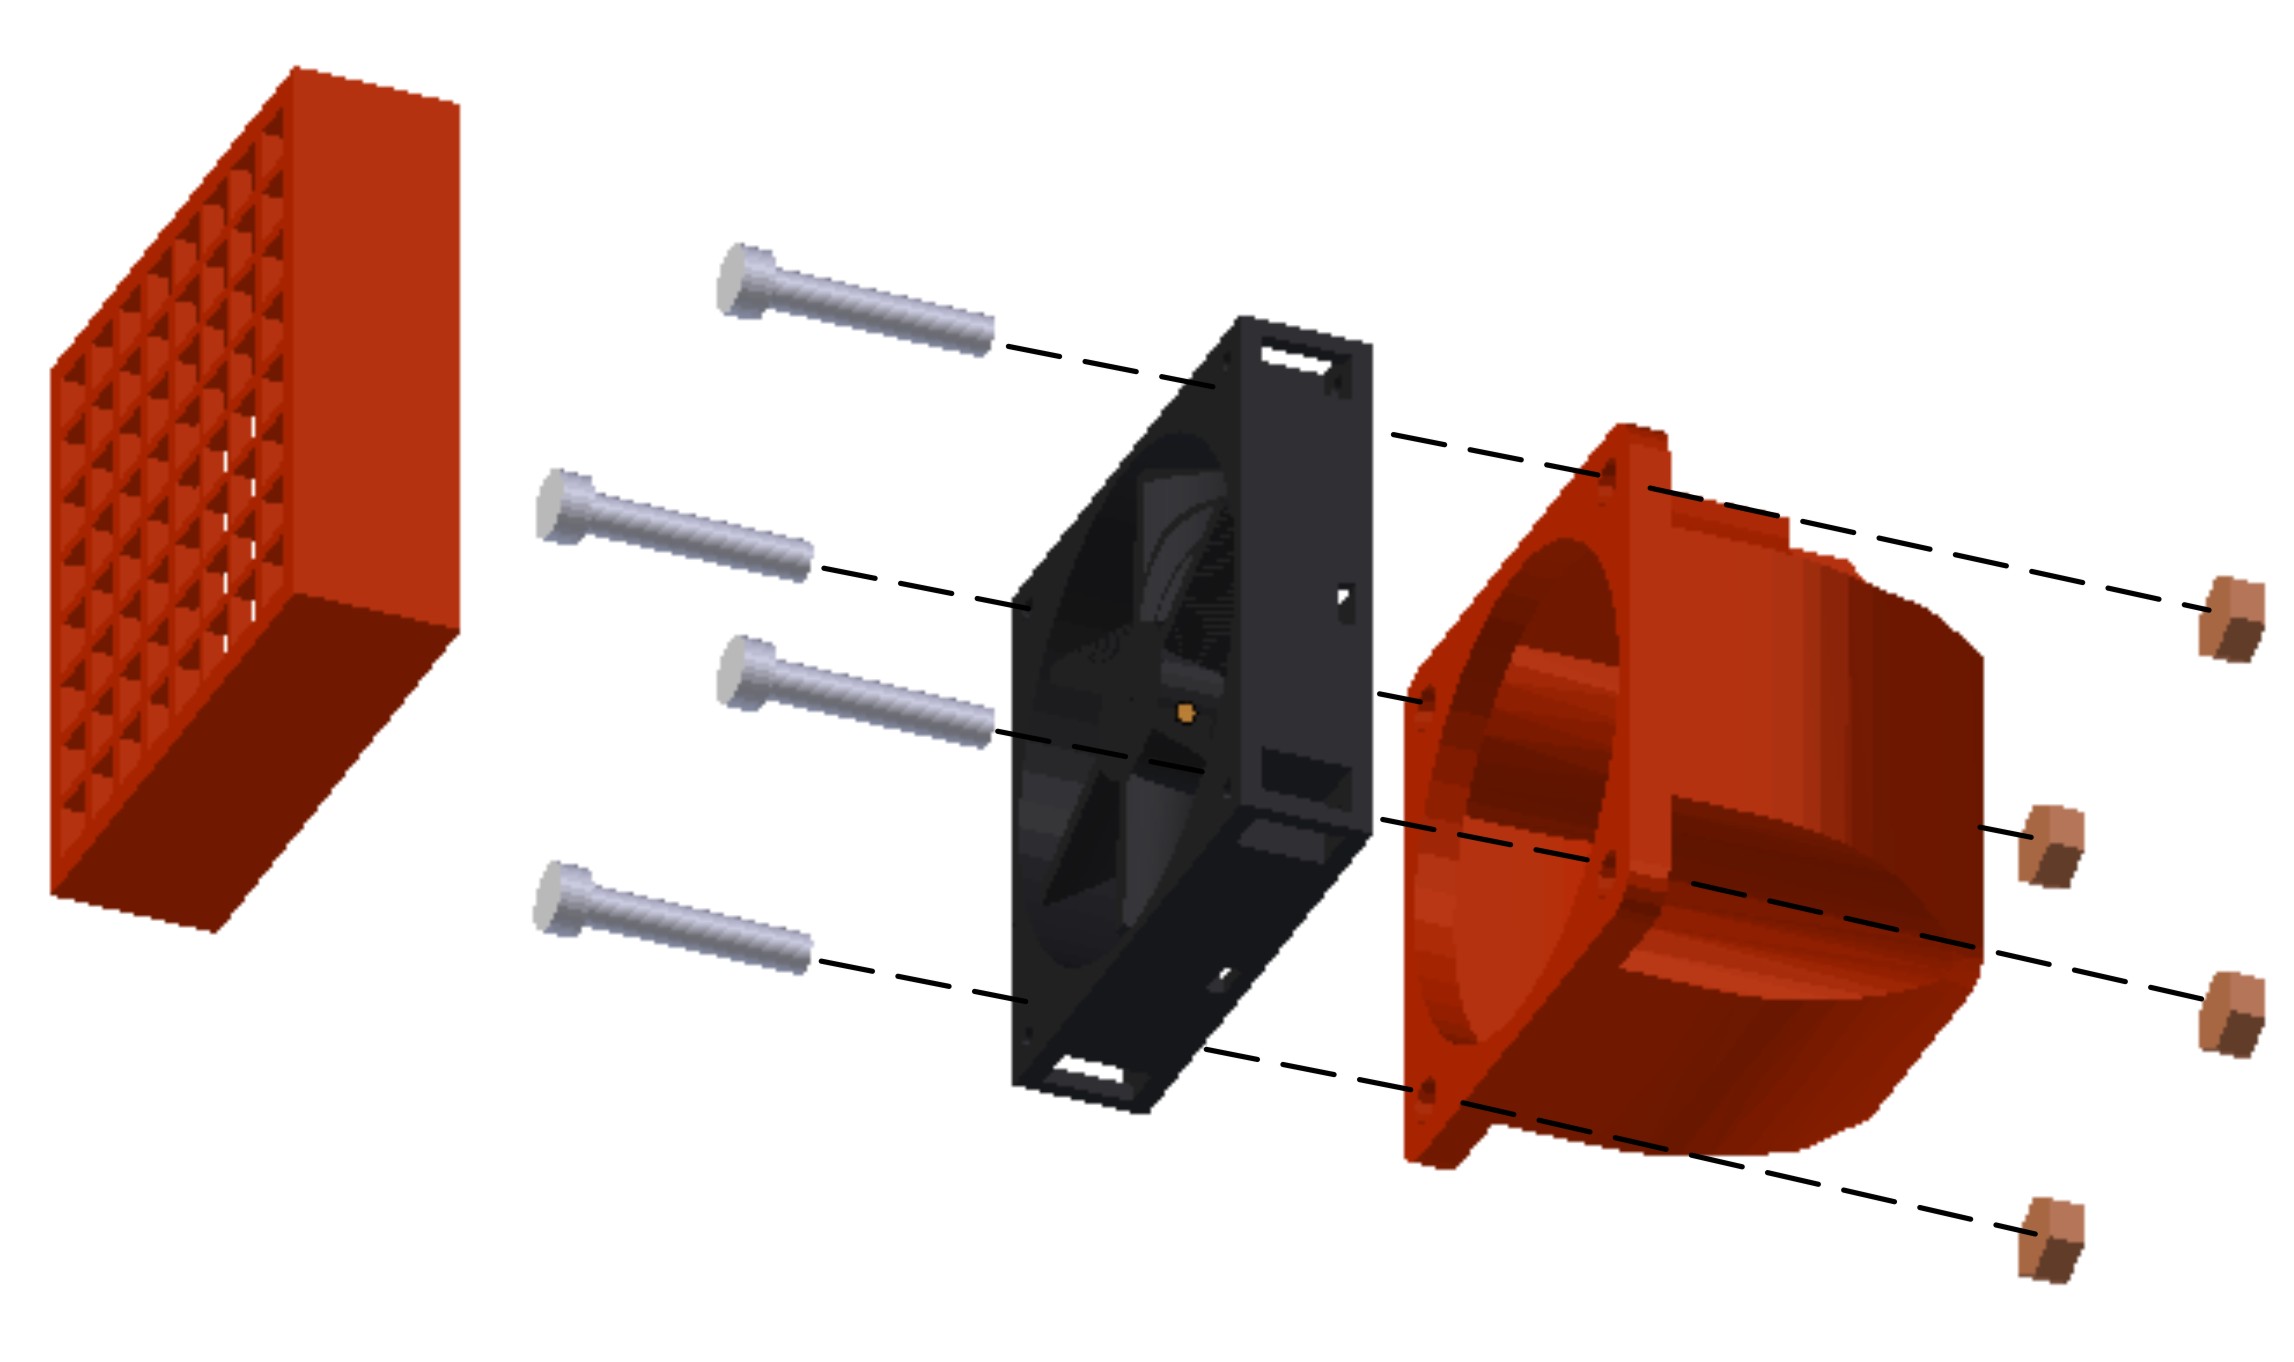
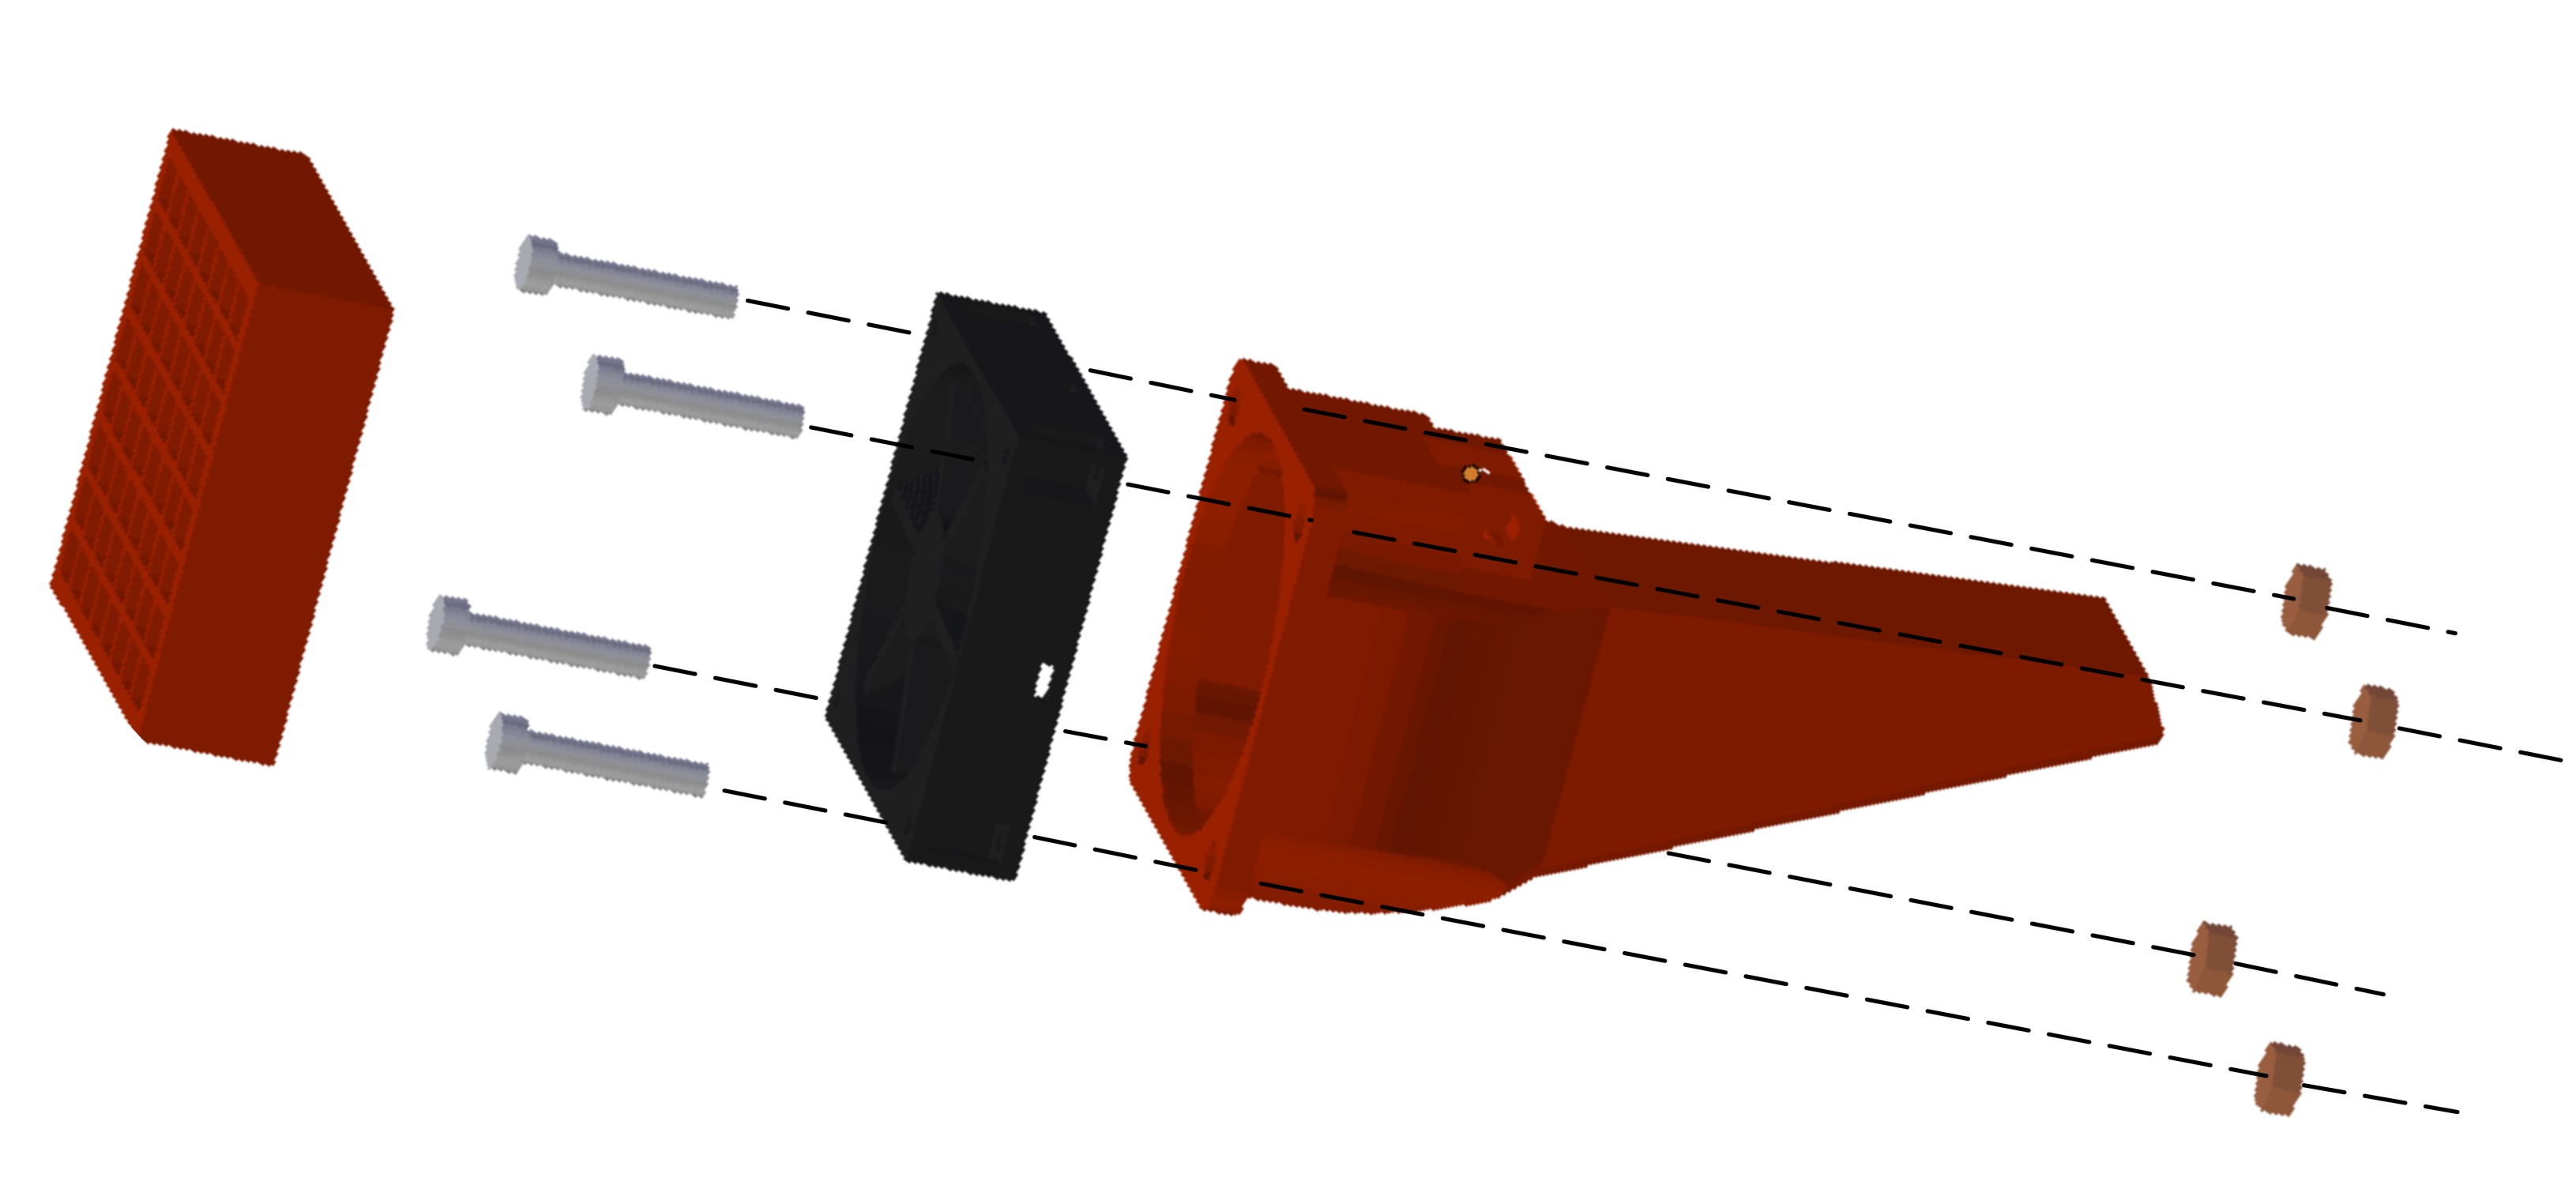
8 viti M3x20mm e 8 dadi (assemblaggio ventilatori ai 2 fan duct);
2 viti M3x20mm e 2 dadi (fissaggio ventilatori al corpo extruder);
1 vite M3x35 e 1 dado M3 (fissaggio Extruder idler al corpo extruder);
2 viti M3x40mm e 2 dadi M3 (fissaggio Hot End al corpo extruder);
2 viti M3x50mm e 4 dadi M3 (assemblaggio Extruder Idler);
1 vite M3x10mm e 1 dado M3 (fissaggio puleggia 10T allo stepper motor)
Rondelle M3 a piacimento.
4 bulloni testa esagonale M4x30
Comperate qualche vite e dadi M3 in più perchè quando scivolano di mano vanno persi e si ritrovano solo quando non servono più!
Assemblaggio:
Iniziamo con assemblare i due ventilatori con i relativi Fan duct e Fan grid
Ora assembliamo l’Extruder idler
introdurre la barra rettificata 8x20mm nel cuscinetto 608 e alloggiare il tutto nell’idler esercitando una leggera pressione (non usare la forza).
Una volta alloggiato, il cuscinetto deve poter ruotare liberamente sulla barra.
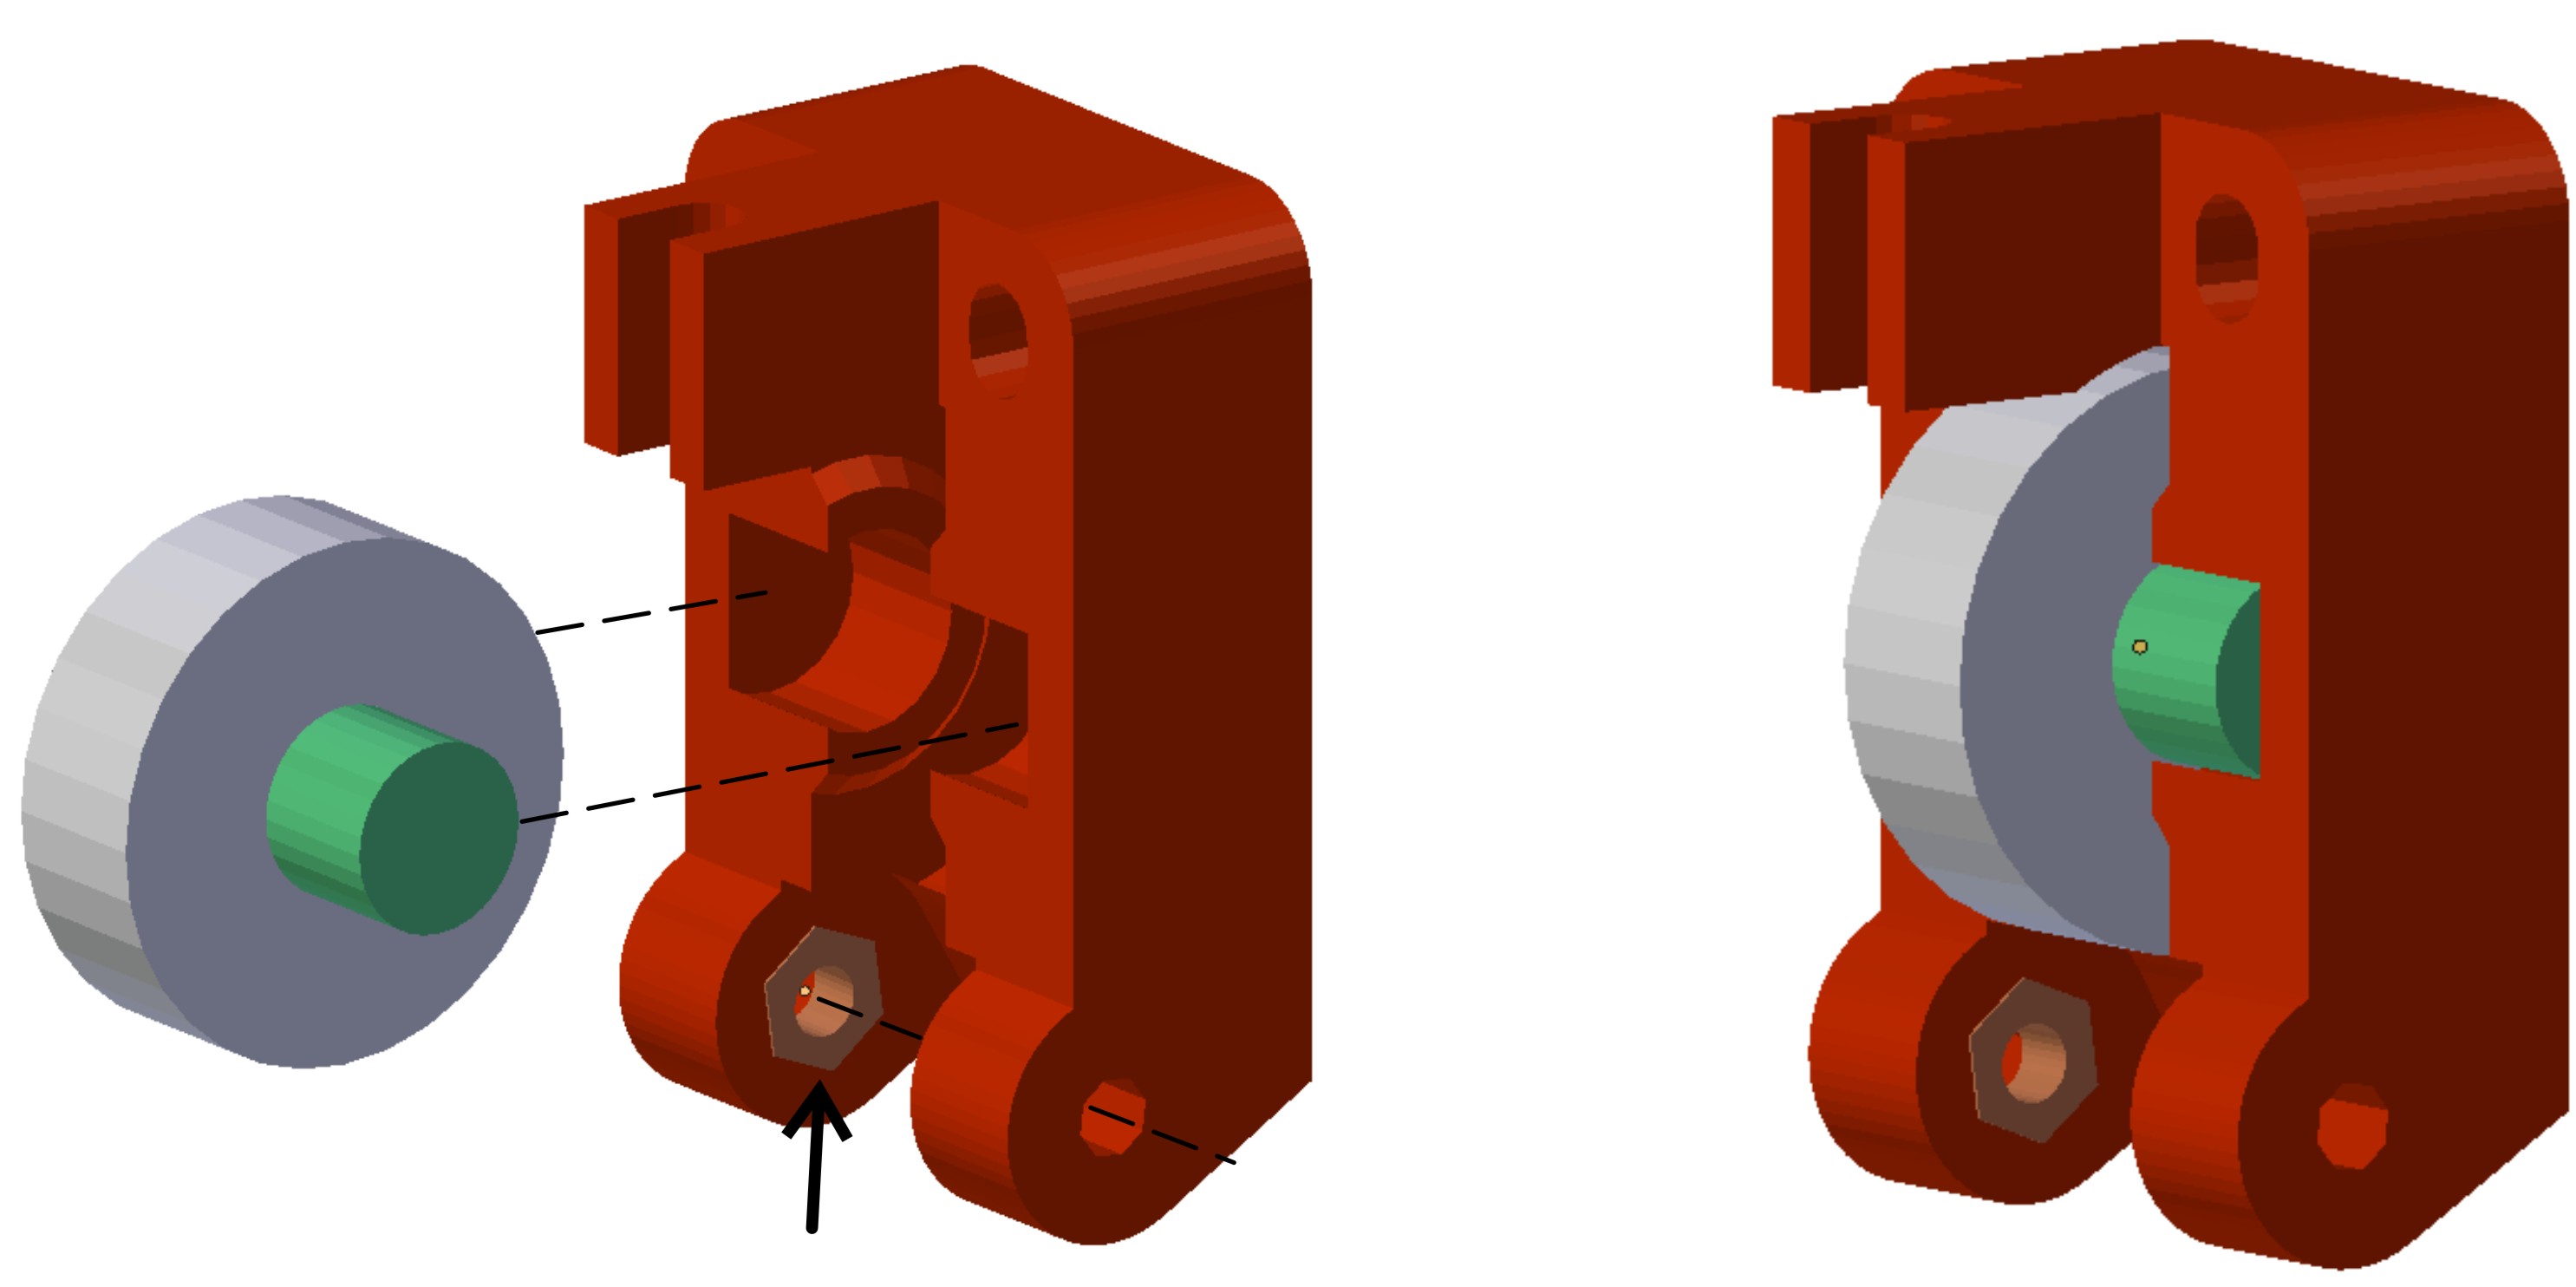
Inserire il dado M3 nell’apposita sede scaldandolo eventualmente con la punta del saldatore regolato a 180°C.
Inserire le viti M3x50 e le molle di pressione del premi filo.
La sequenza è VITE – RONDELLA – MOLLA – RONDELLA inserire il tutto nel foro e avvitare il dado senza stringere.
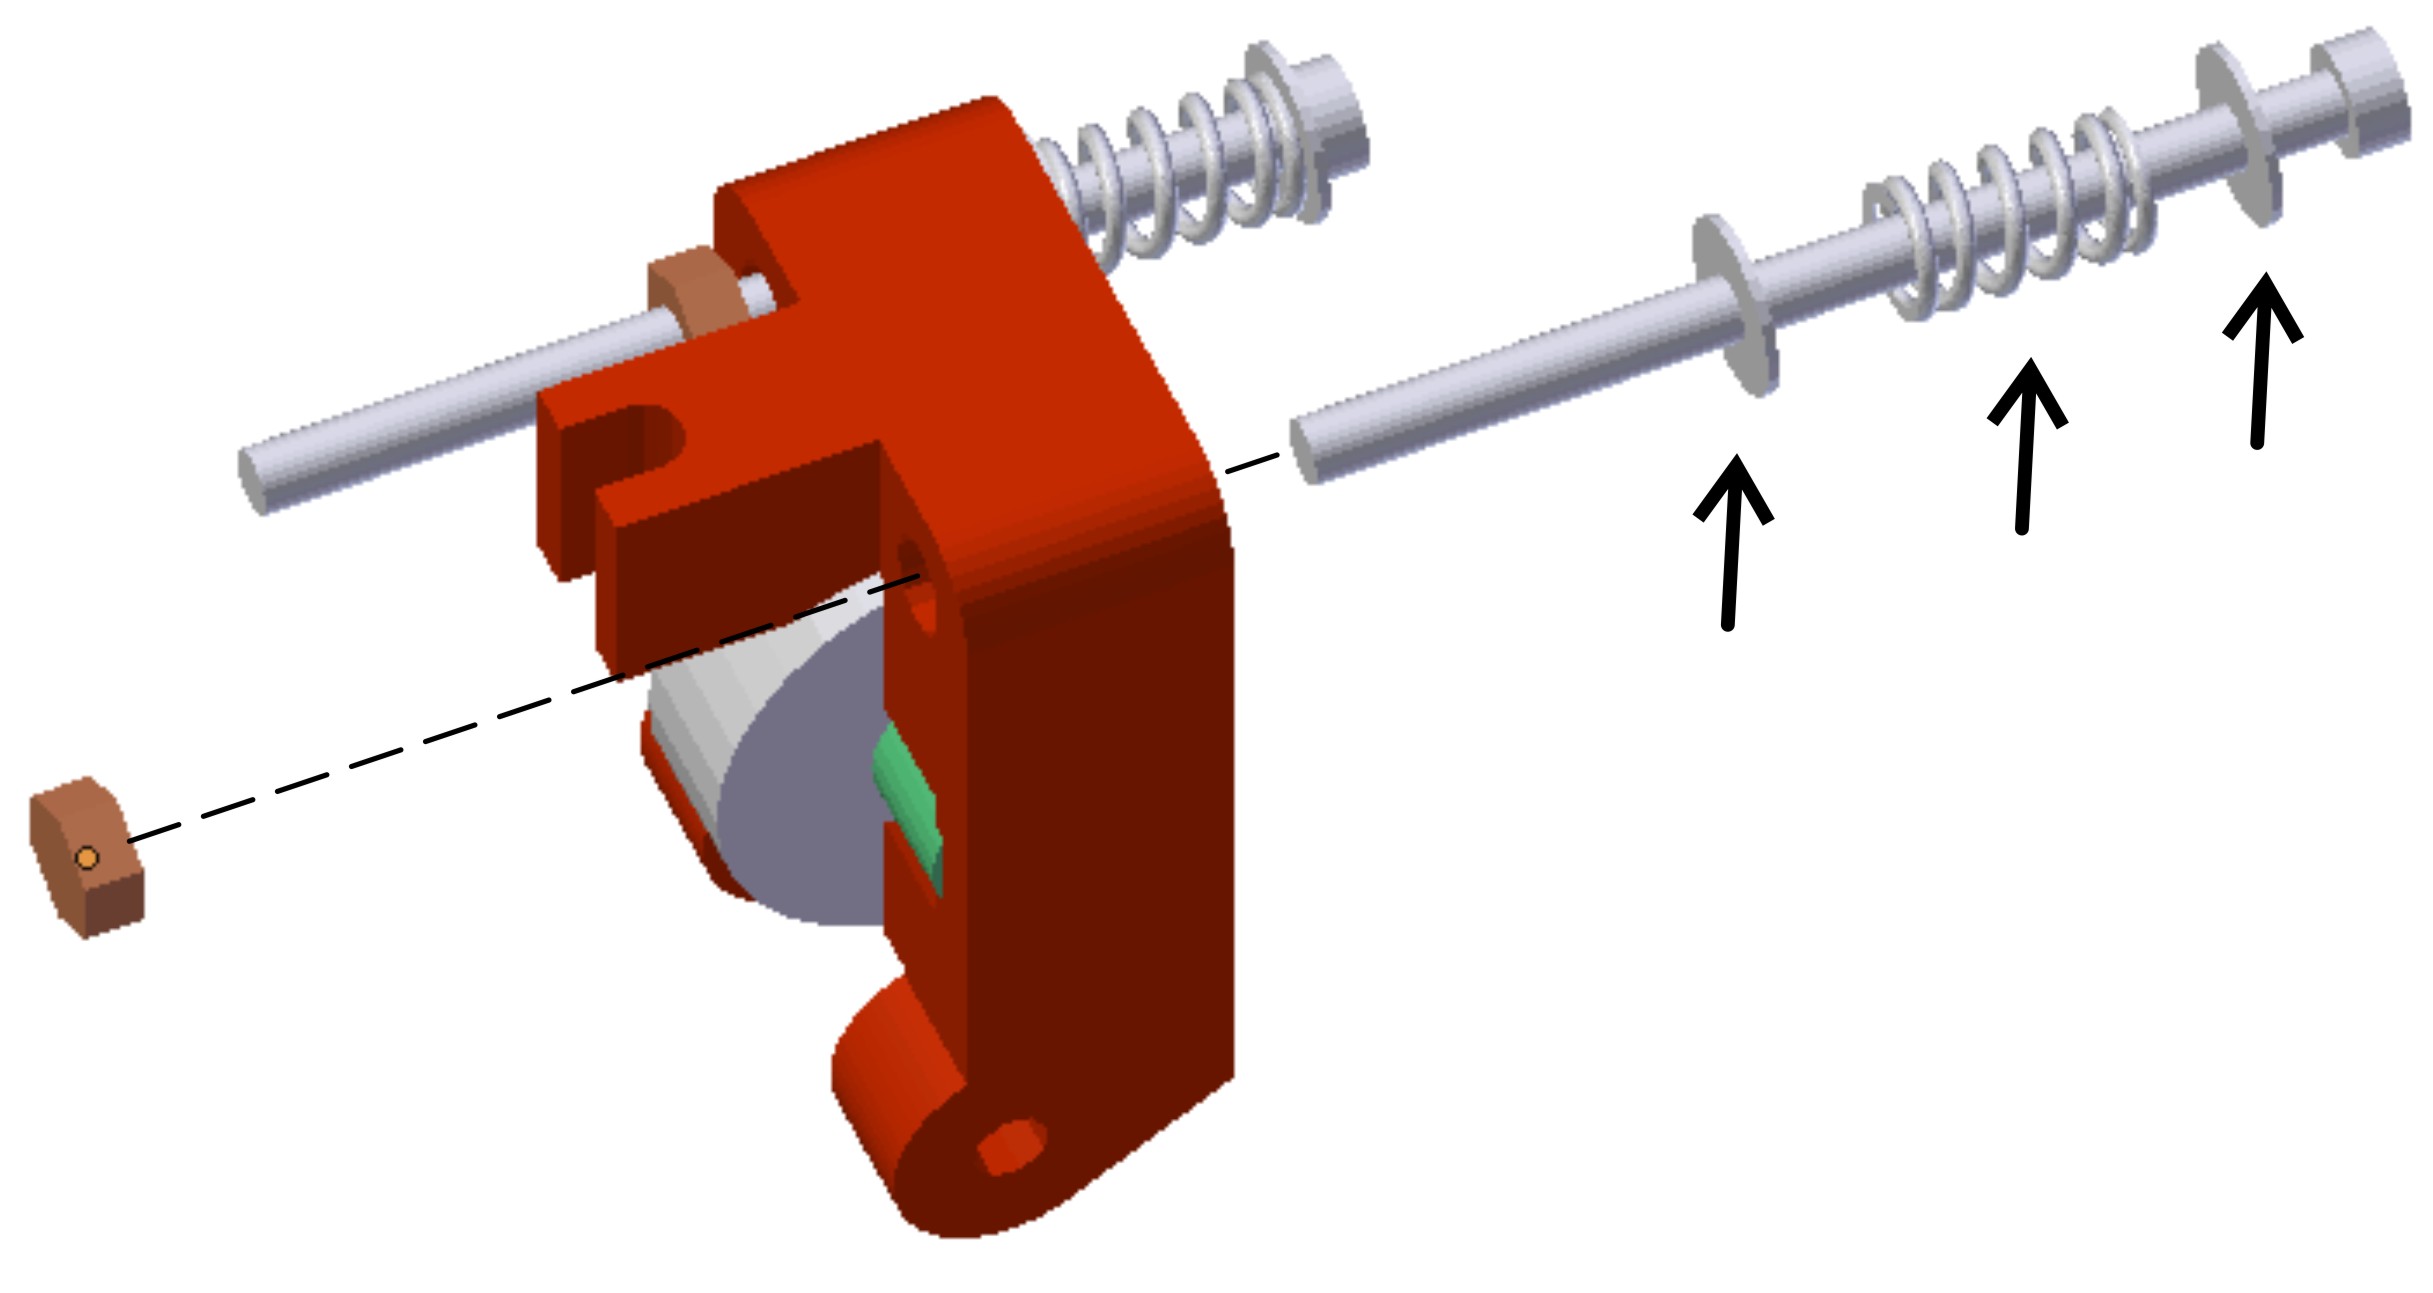
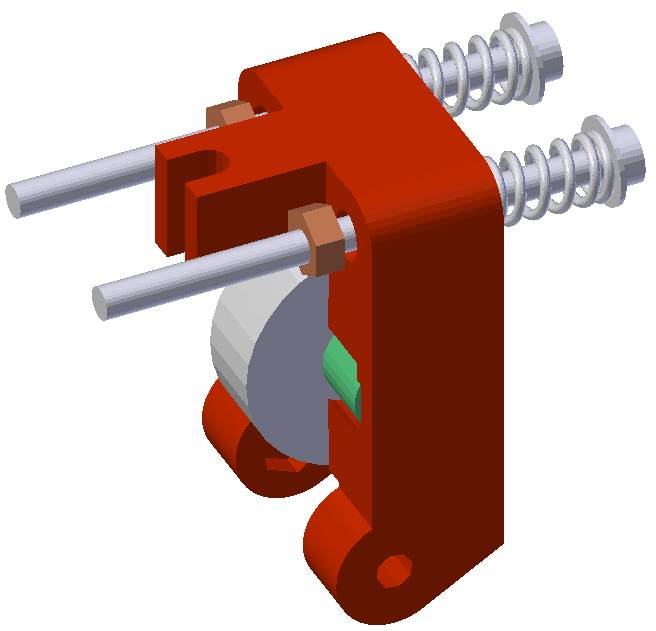 Questo dado serve ad evitare che aprendo il premi filo per manutenzione, si sfili la vite con le rondelle e le molle.
Assemblare l’extruder come segue:
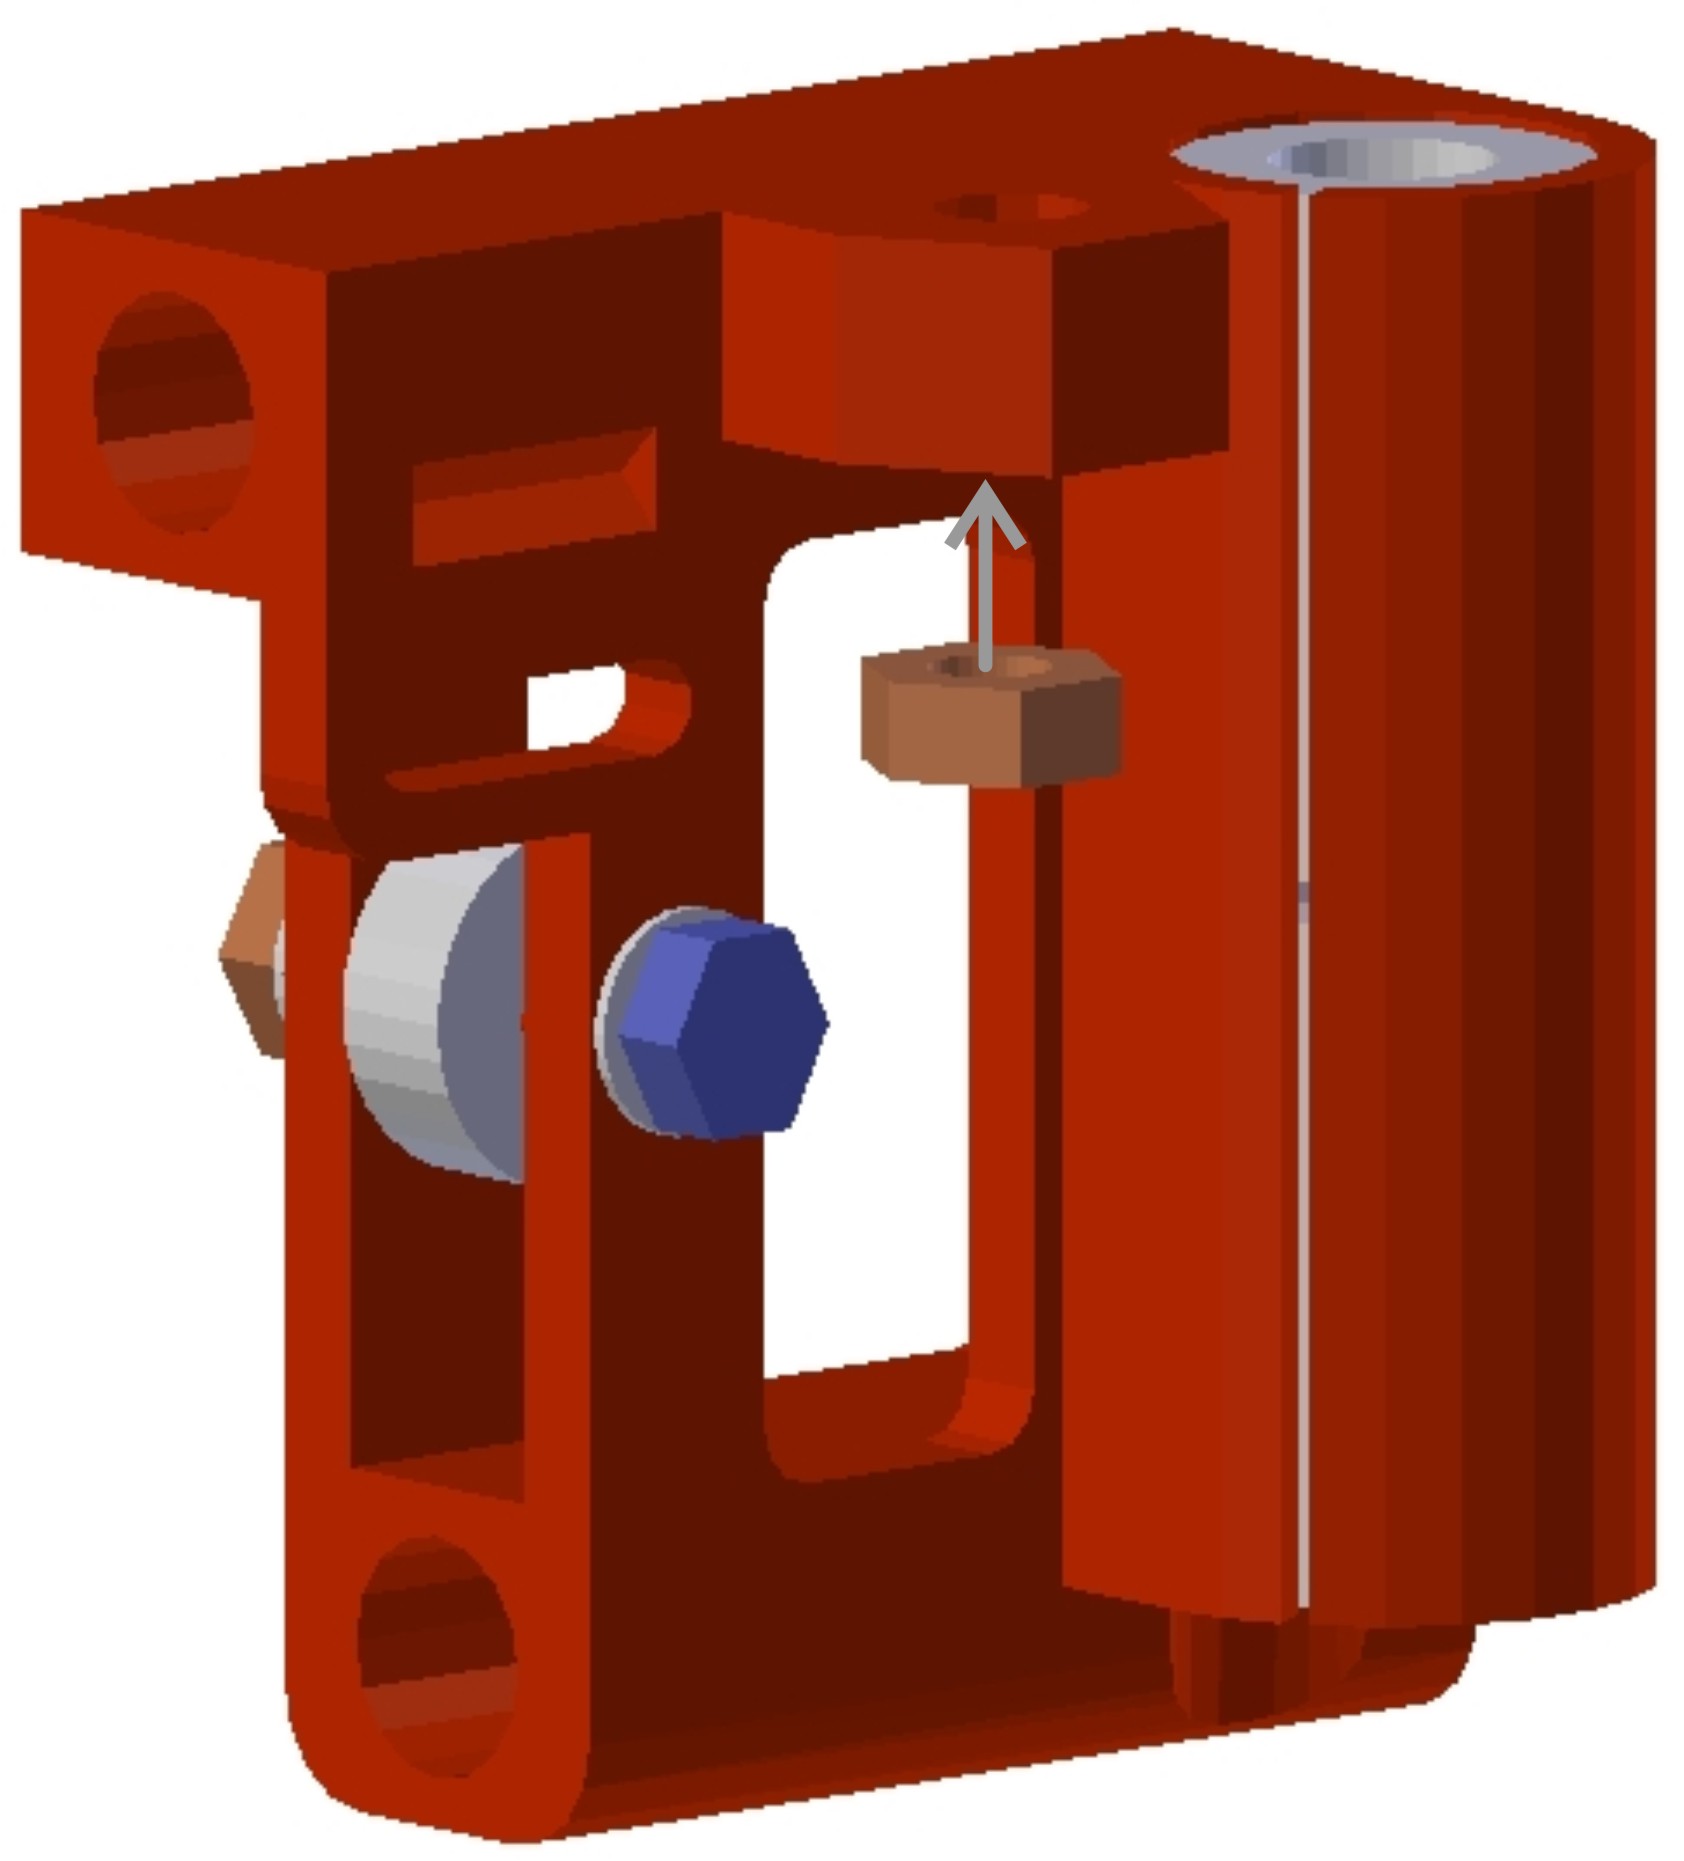
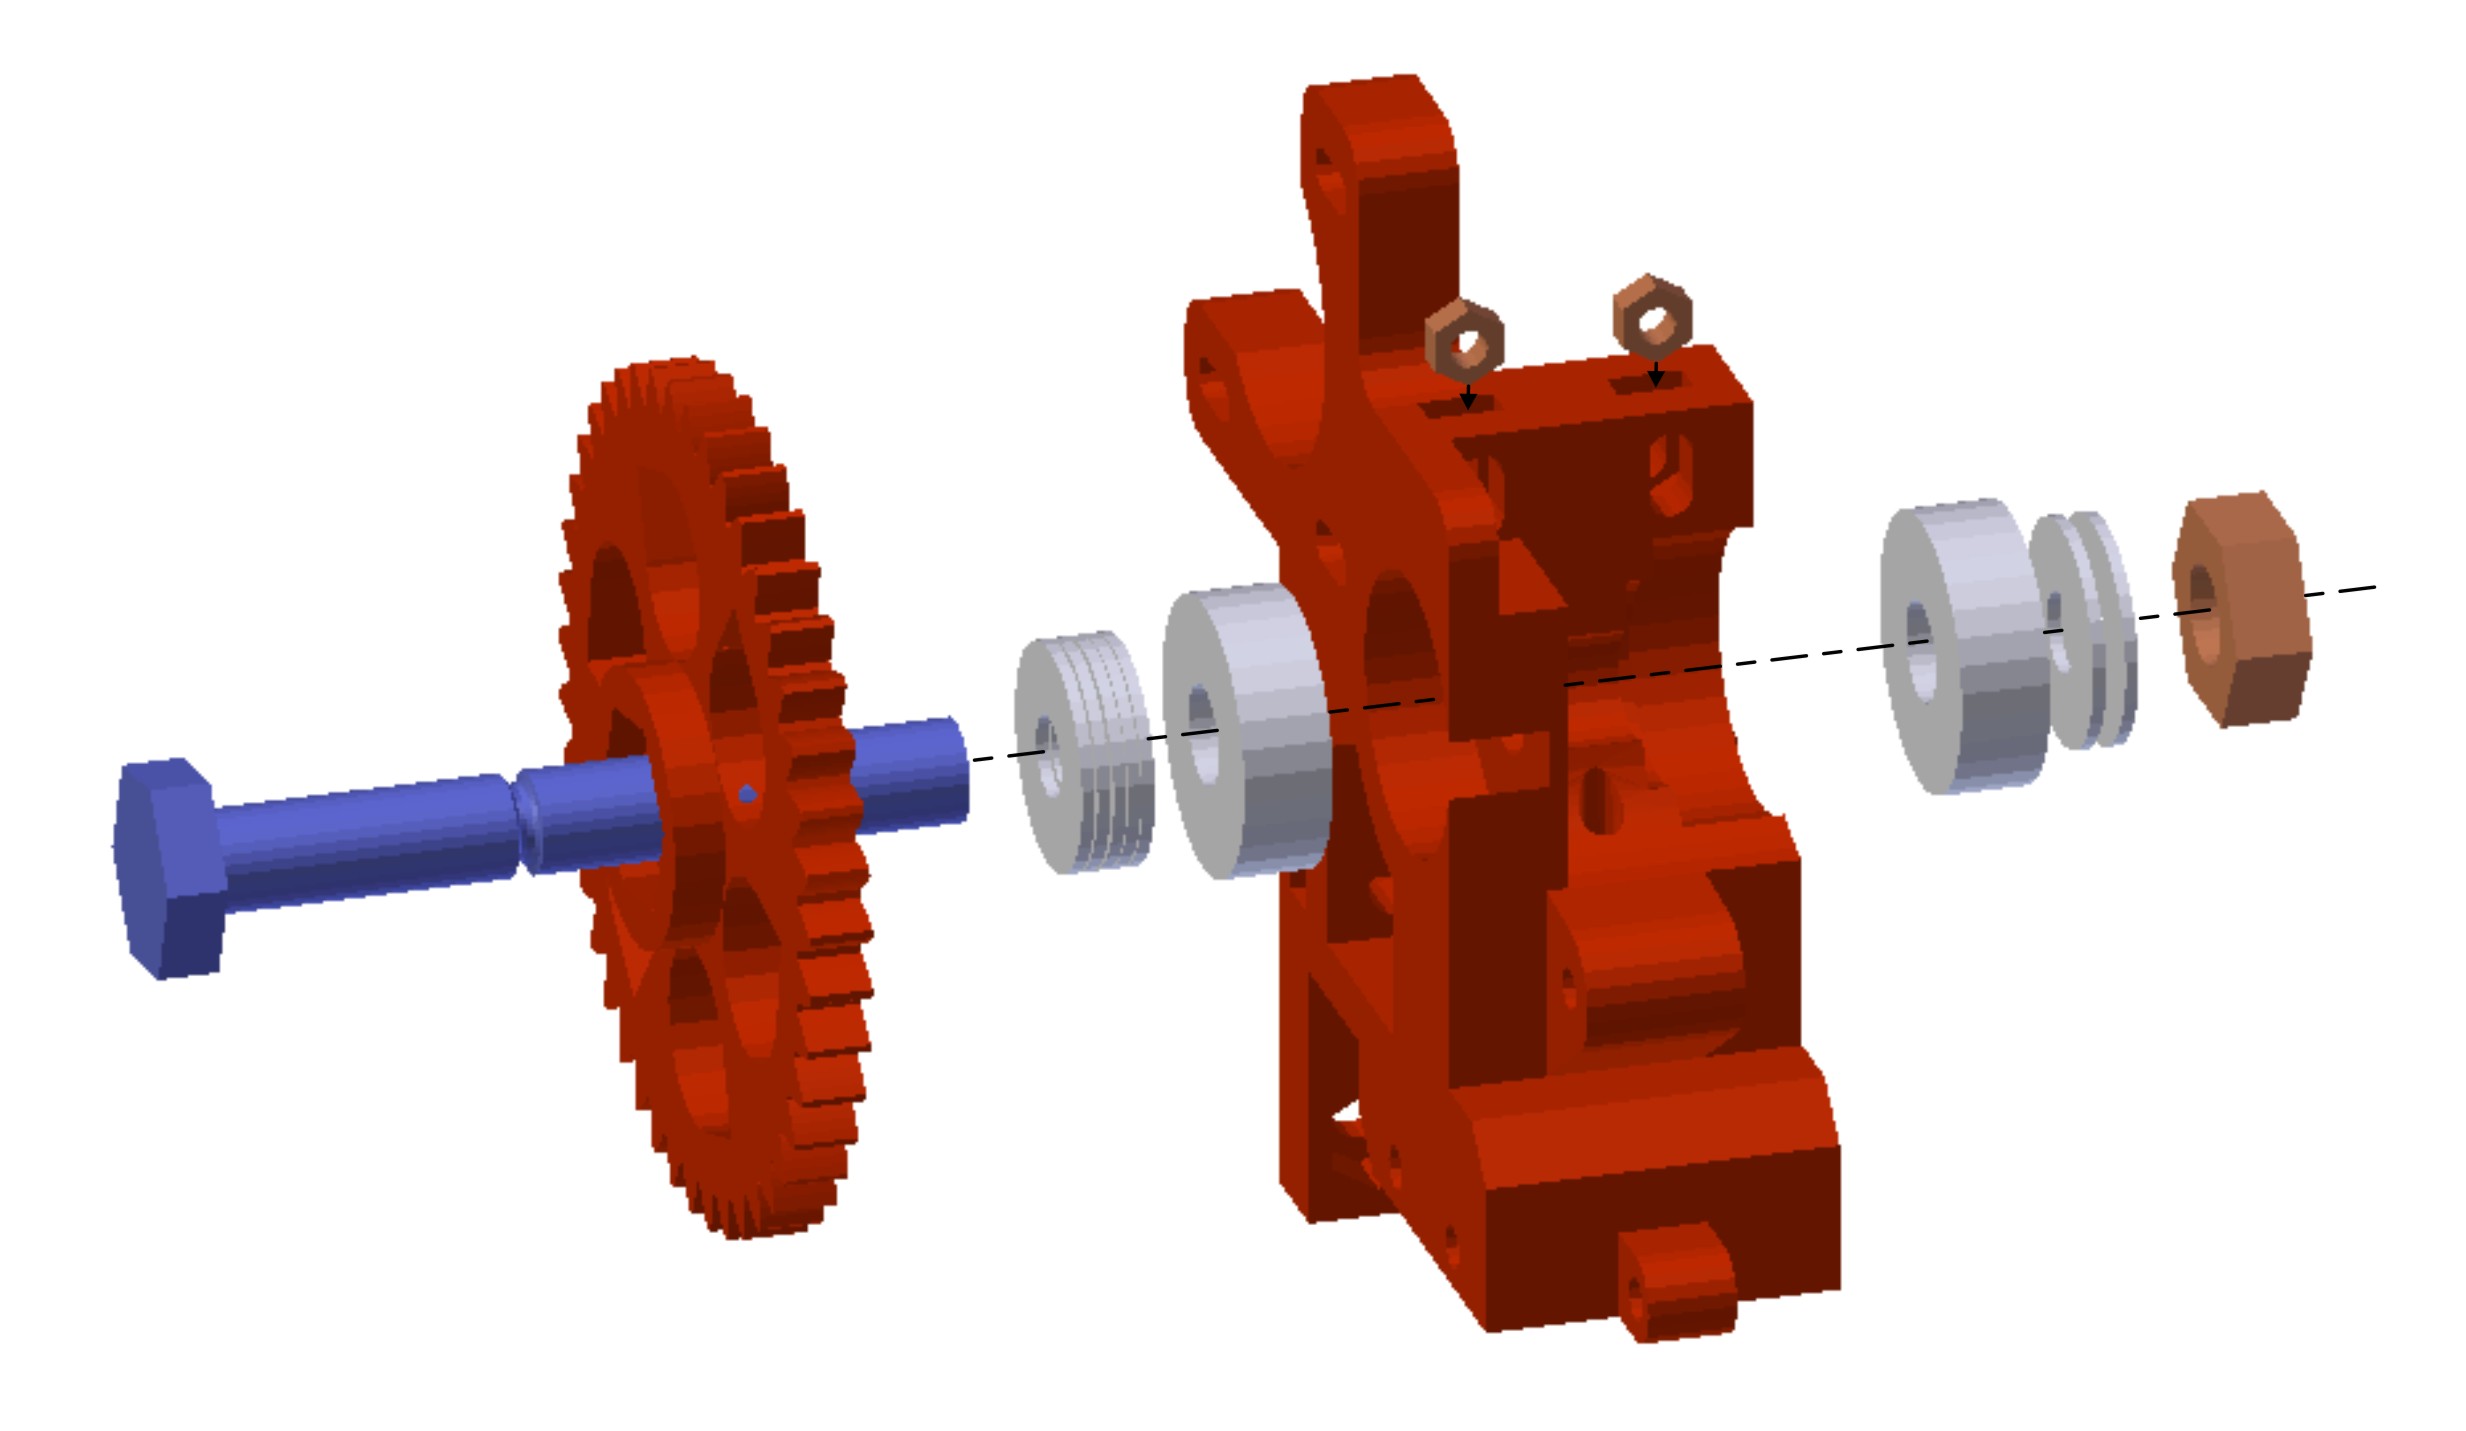
Alloggiare i due dadi M3 negli appositi fori:
Inserire la WADE-BIG-GEAR_43T nell’Hobbed bolt, seguita dalle 5 rondelle da 8mm e il cuscinetto 608;
Infilare l’hobbed bolt semi assemblato nel foro del body extruder ed inserire l’altro cuscinetto 608, le due rondelle ed il dado di serraggio autobloccante (nylonstop).
A seconda dei casi possono essere necessarie più o meno rondelle.
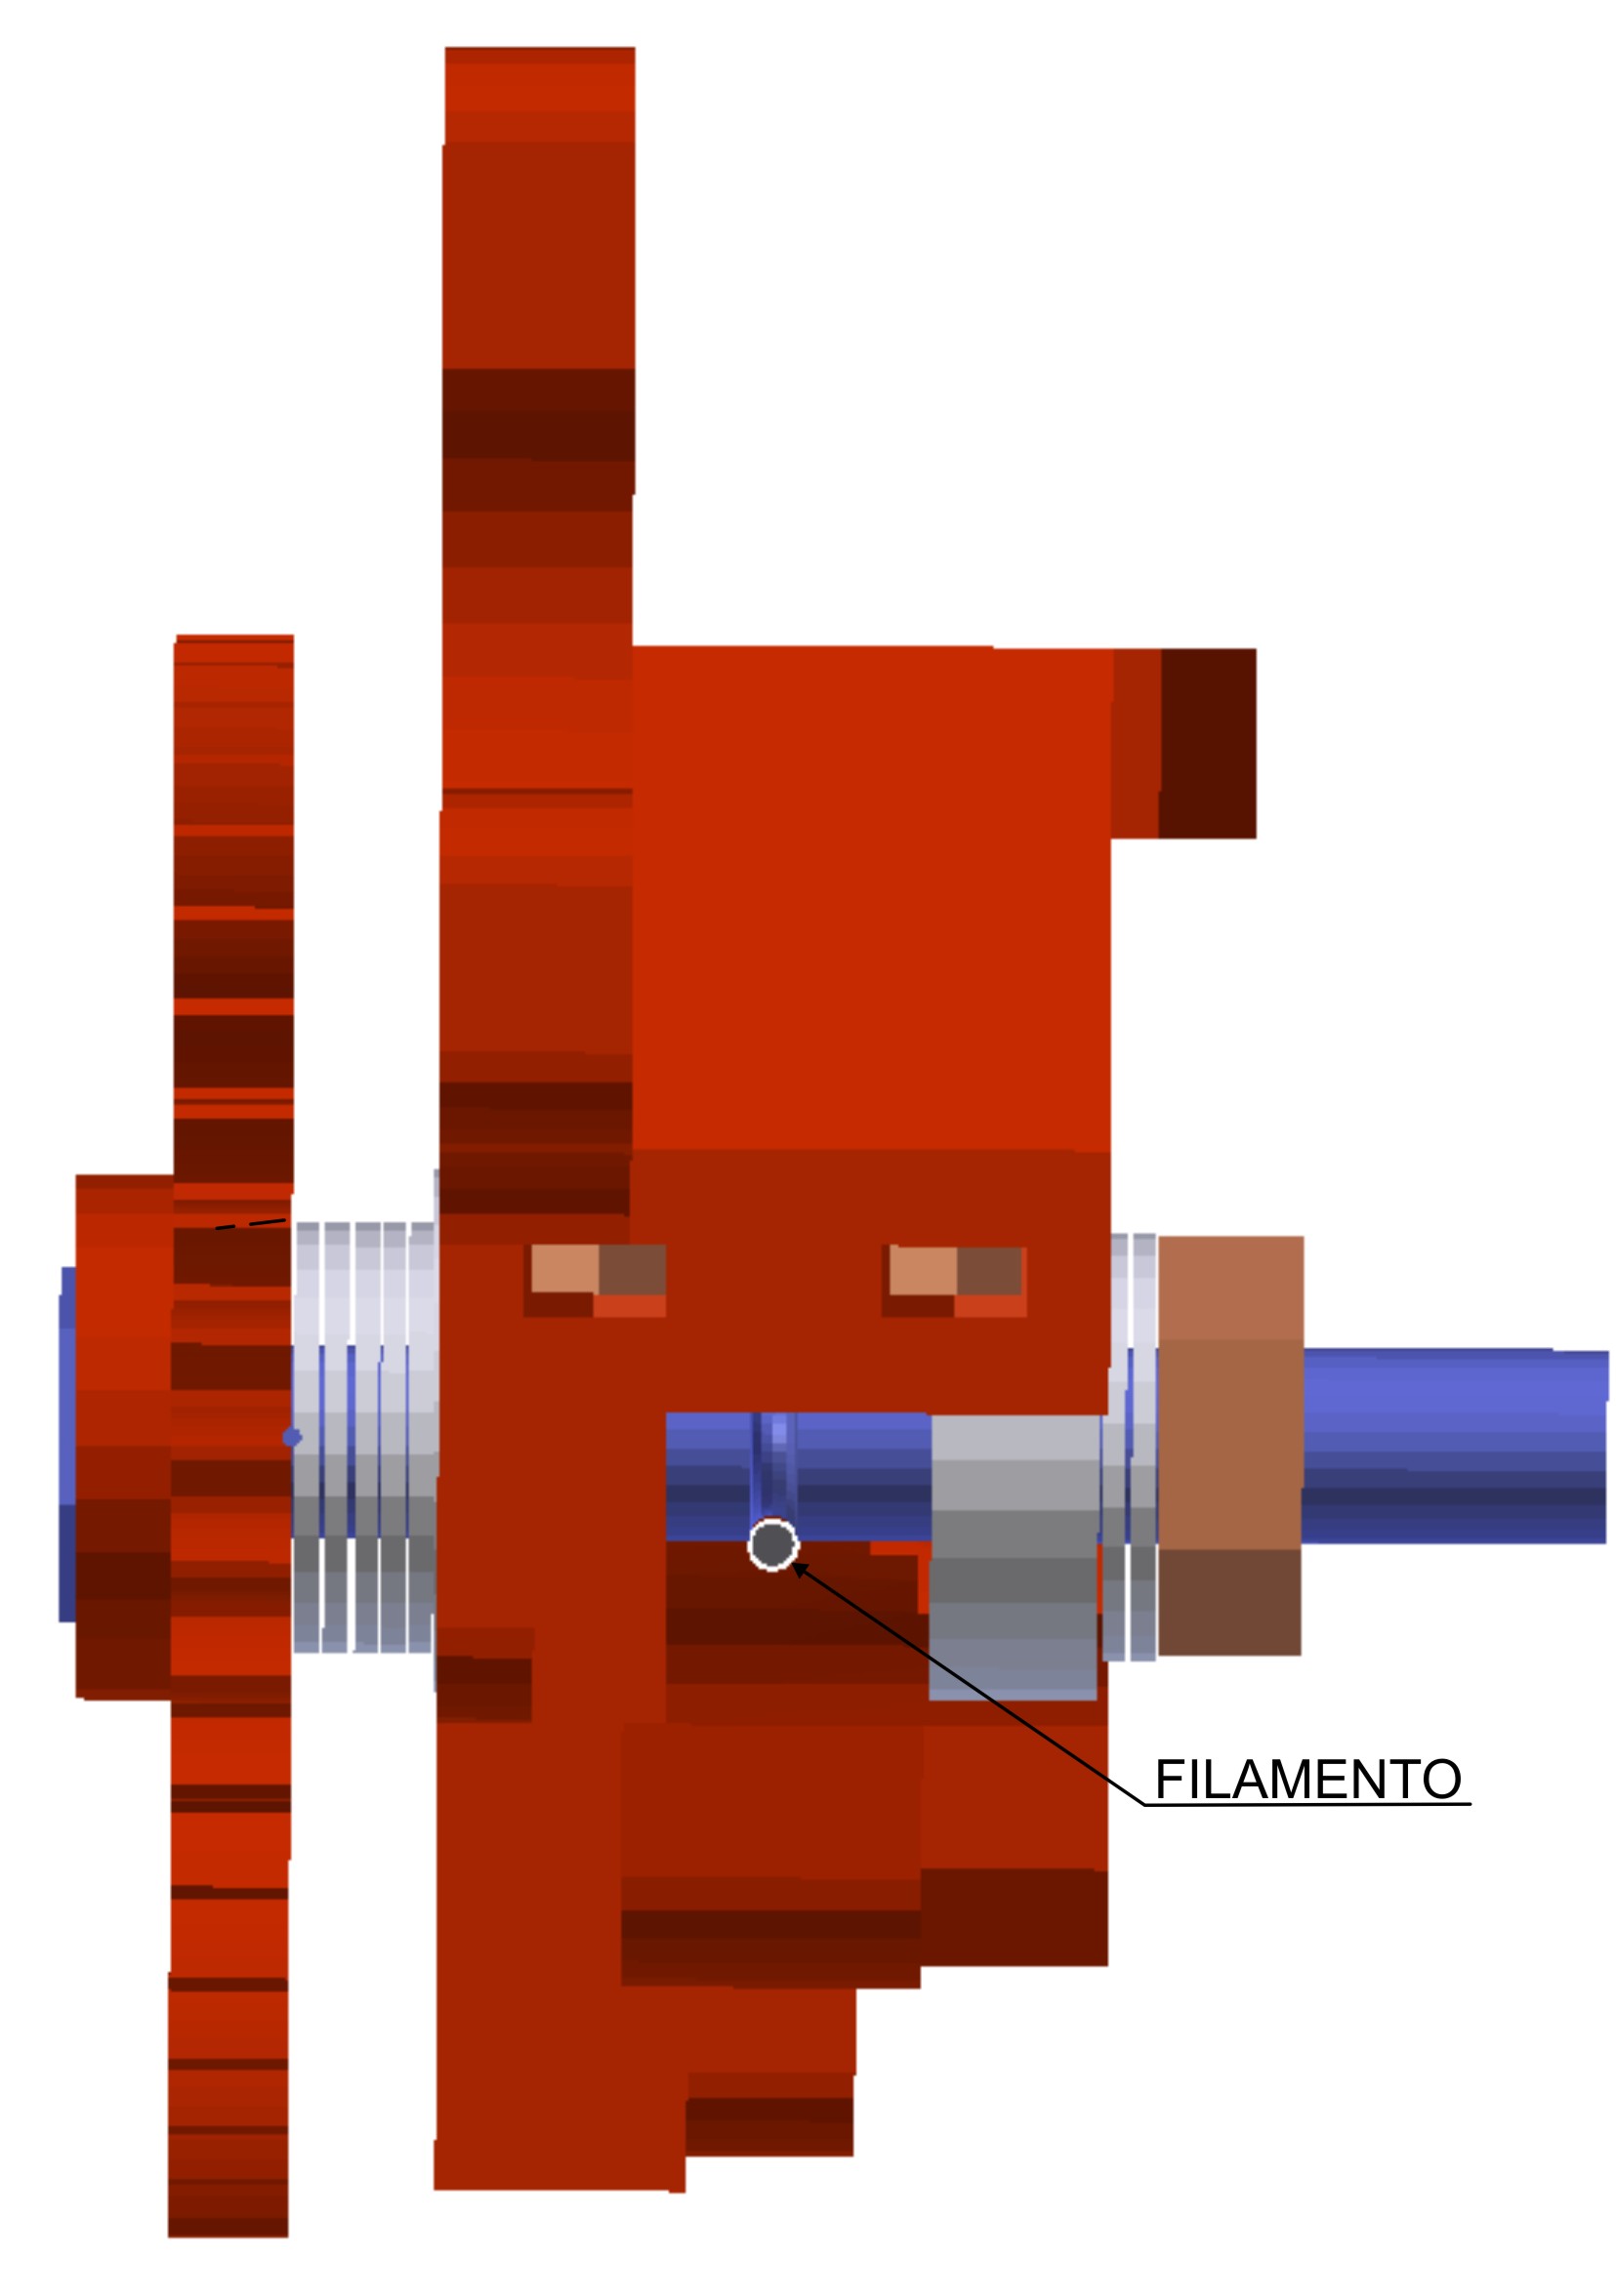
Serrare il dado e verificare che la gola zigrinata dell’Hobbed bolt sia allineata con il foro di passaggio del filamento. Eventualmente aggiungere o togliere rondelle.
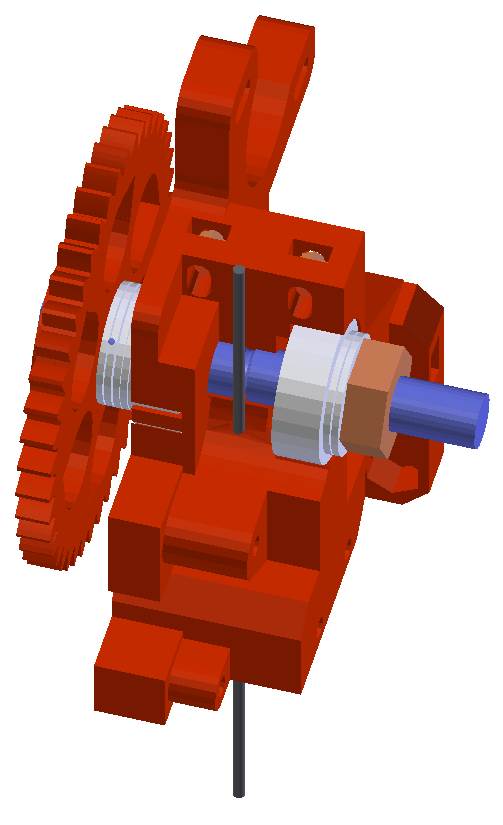
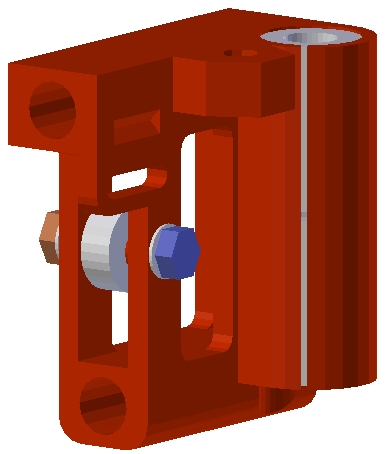
Asemblare la puleggia da 10 denti WADE-SMALL-GEAR_10T inserendo il dado M3 nella feritoia ed avvitandovi la vite M3x10.
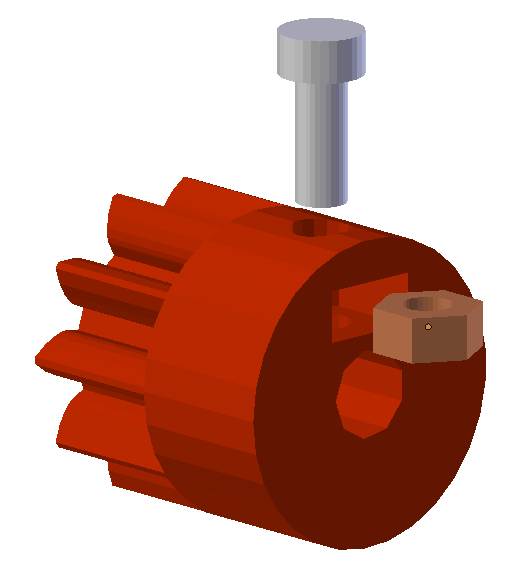 Ora inserire la WADE-SMALL-GEAR_10T sull’asse dello stepper motor e stringere la vite per bloccarla sull’asse del motore. Fissare poi lo stepper motor nell’apposita sede con 3 viti M3x12mm regolando opportunamente la distanza tra i denti delle puleggie per far si che coincidano senza premere troppo una sull’altra e generare attriti indesiderati.
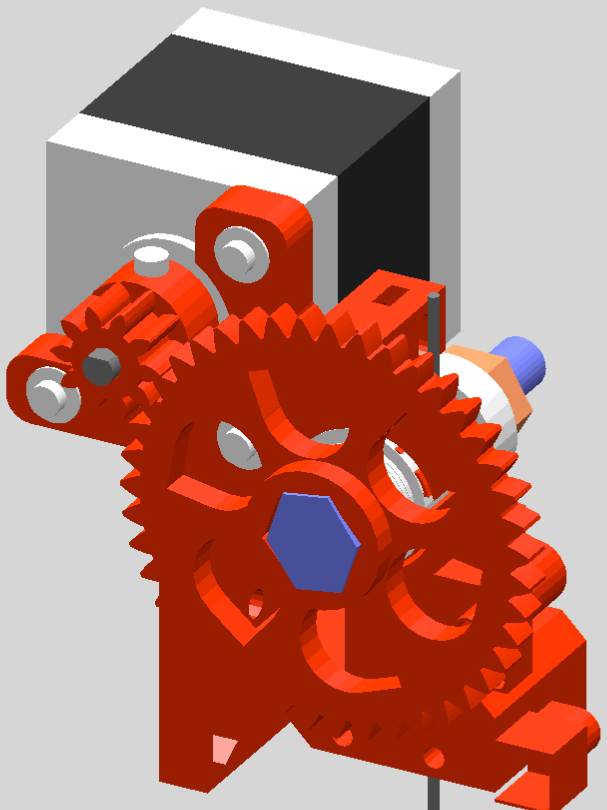 Verificato questo, stringere le viti e controllare che tutto giri senza attriti.
Ora fissare l’extruder idler pre assemblato in precedenza al corpo Extruder mediante la vite M3x35mm. Il dado M3 è già inglobato nell’idler nell’apposita sede.
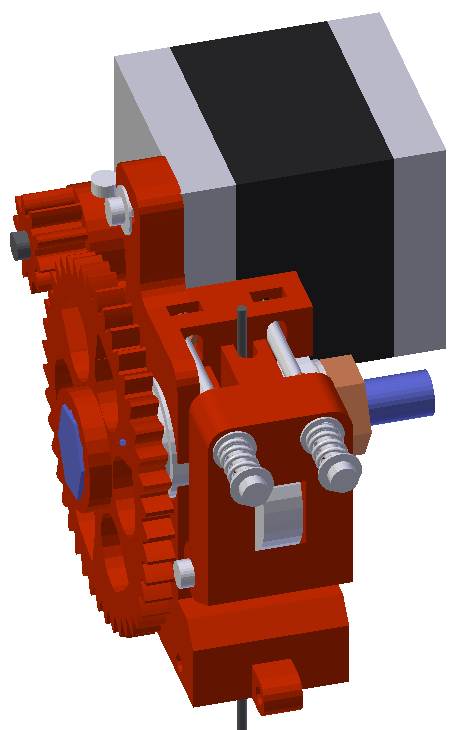 La vite di fissaggio non va stretta molto in quanto l’idler deve poter girare liberamente quando viene aperto per un’ispezione o per la pulizia della gola zigrinata dell’Hobbed Bolt.
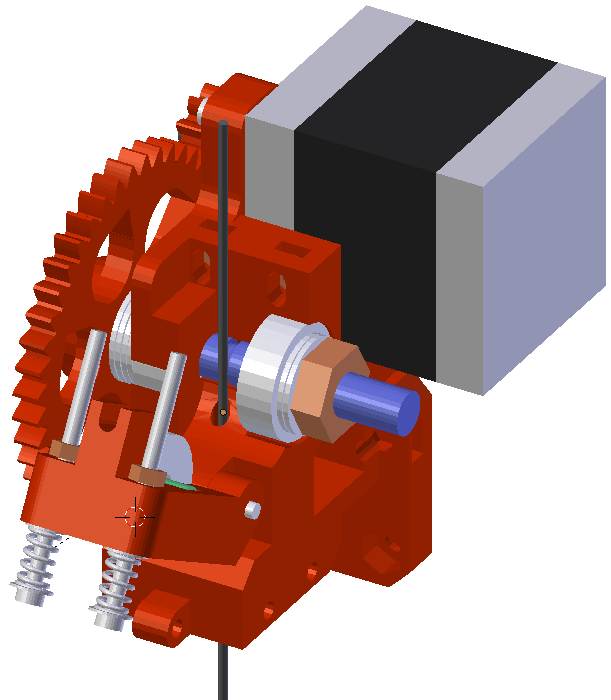 Ora inseriremo l’Hot End nella sede e lo fissiamo con le due viti M3x40 e relativi dadi.
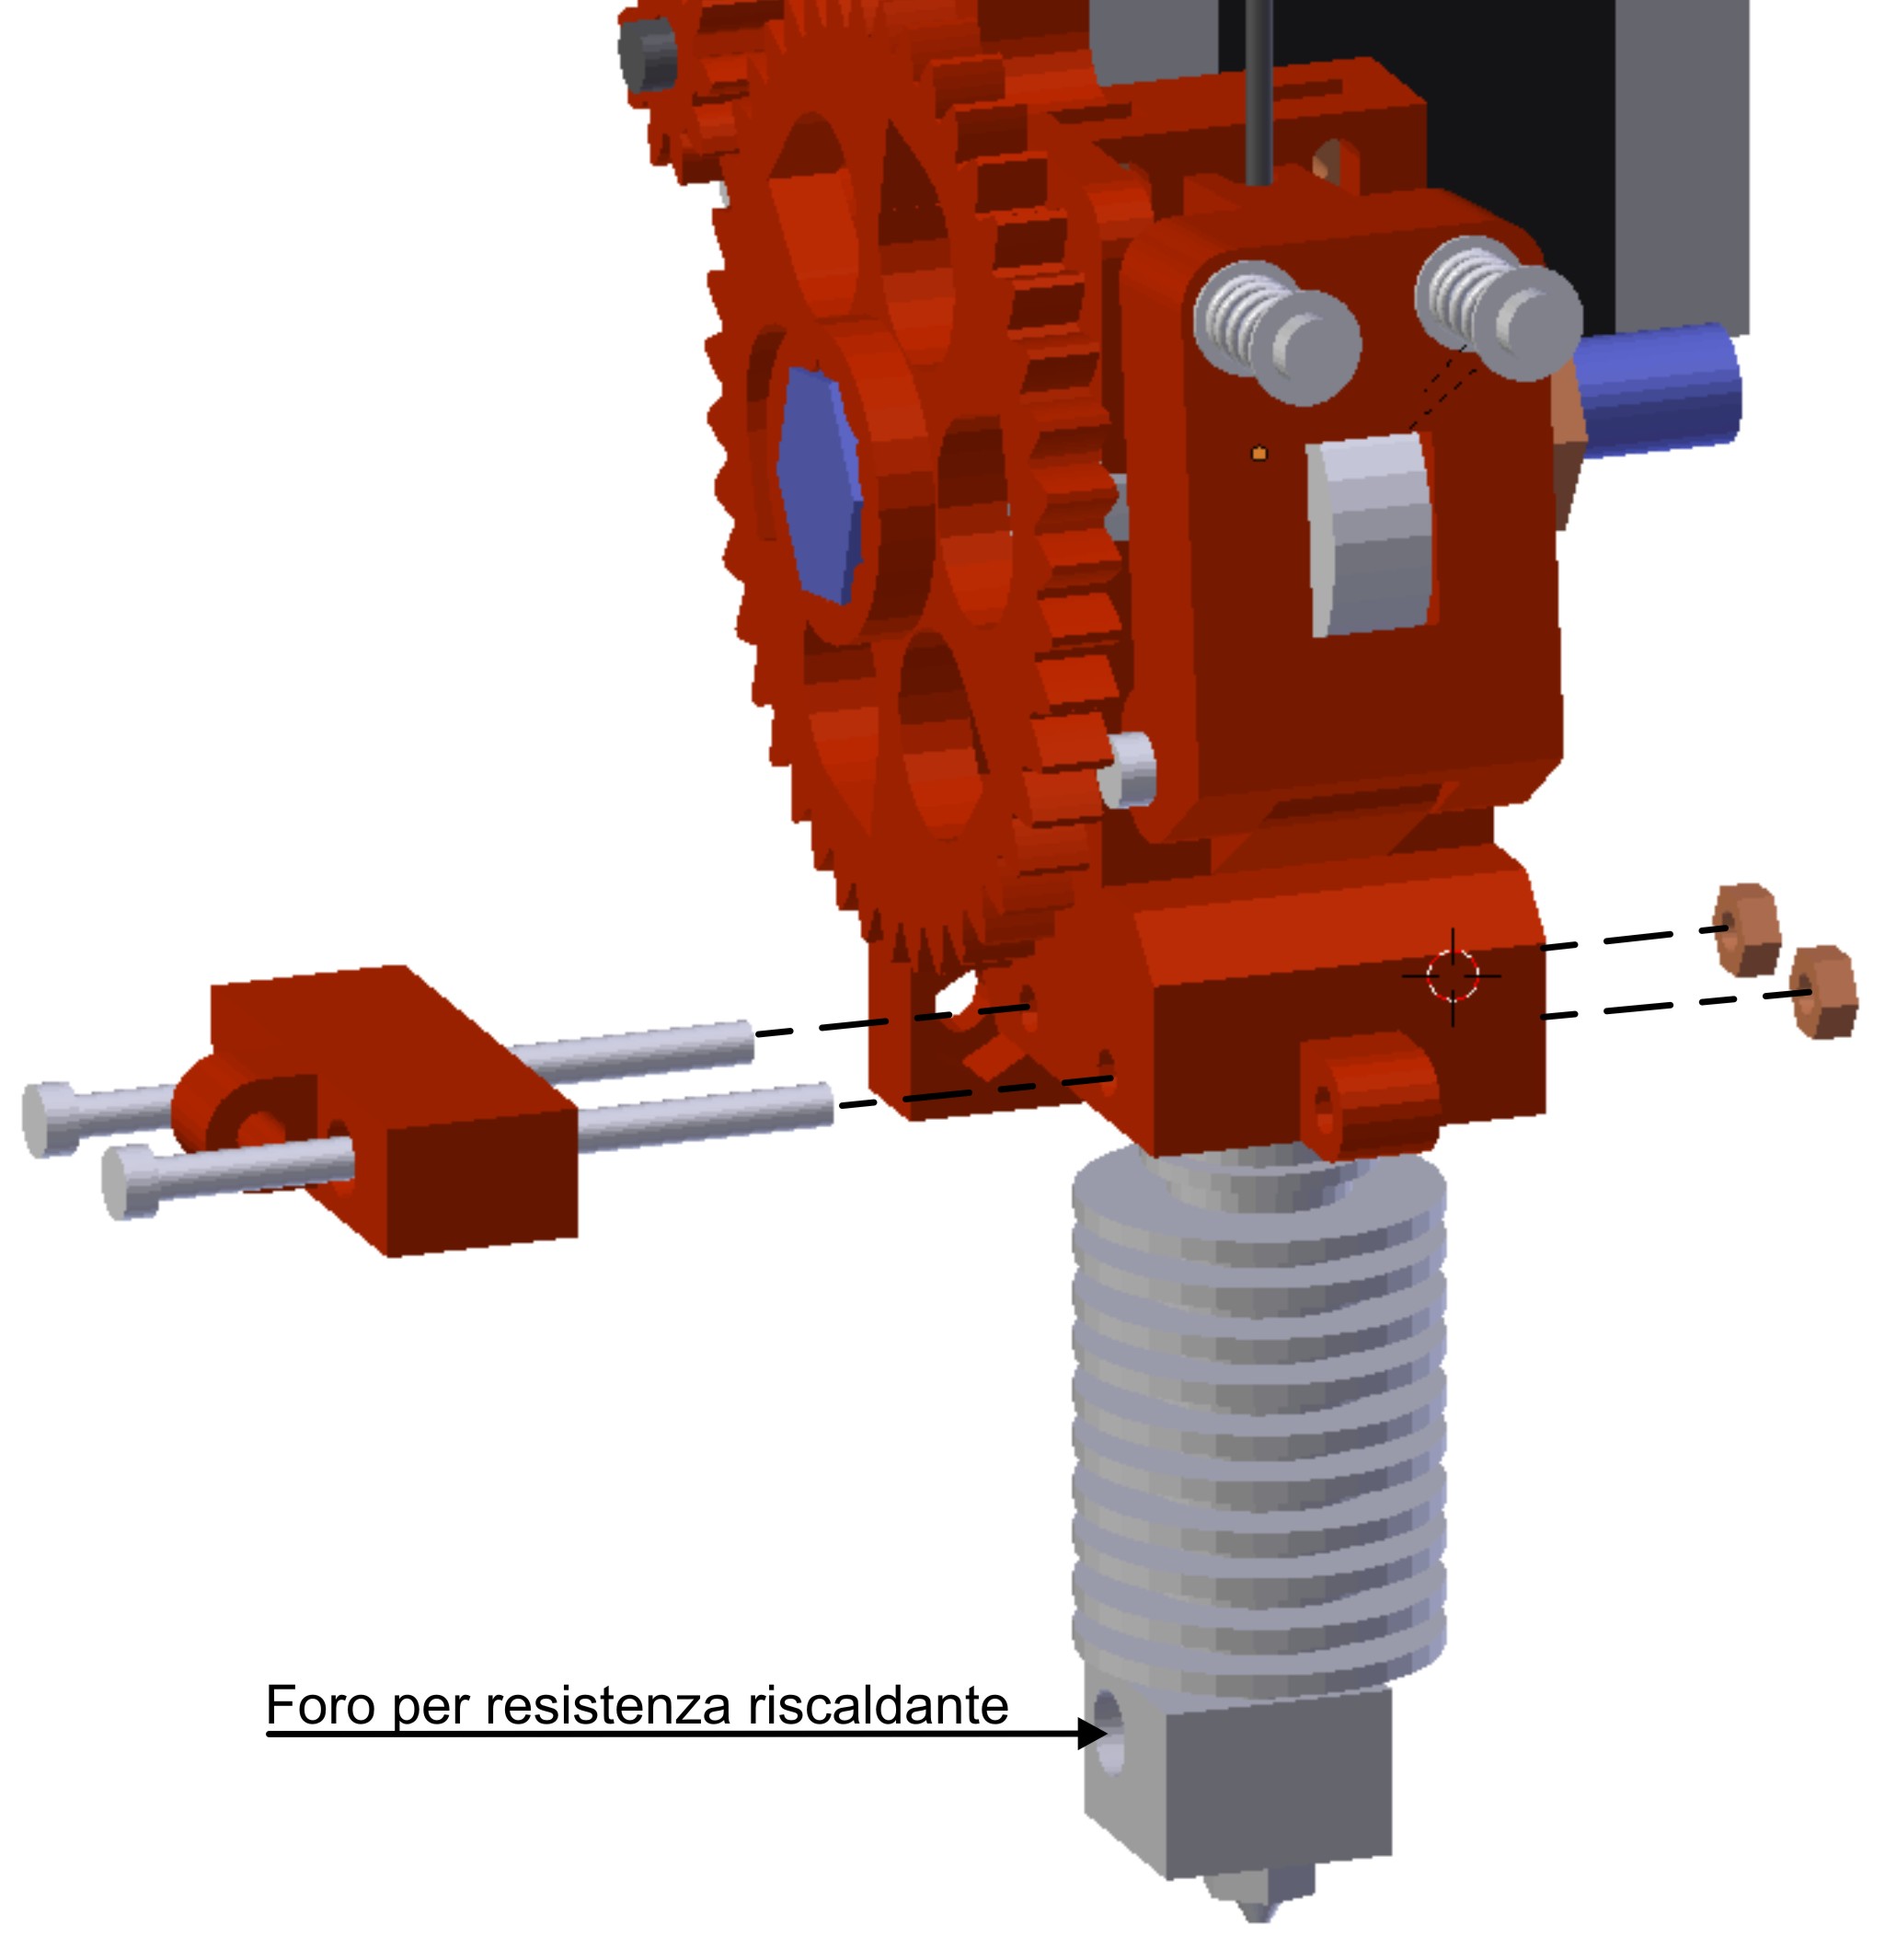 L’Hot End va inserito fino in fondo nell’apposito foro sotto il corpo extruder ed orientato con il foro per la resistenza riscaldante posto verso la parte posteriore della stampante.
Quando si inseriscono le viti di fissaggio ricordarsi di inserire il FAN_DUCT_PLA_SUPPORT e bloccare poi tutto assieme al corpo estrusore mediante i due dadi M3.
Eventualmente aggiungere due rondelle per distribuire meglio la pressione del dado.
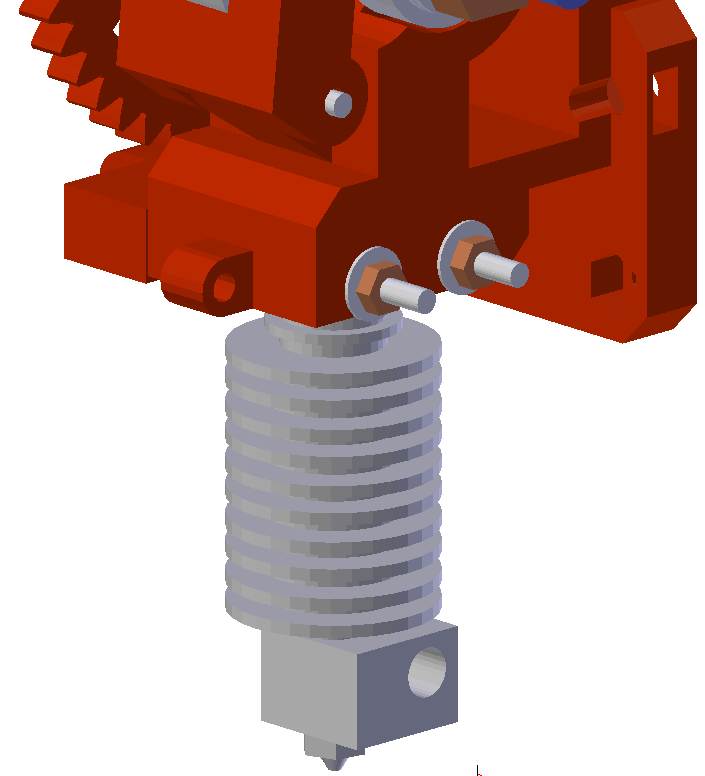
NOTA: Le viti sono volutamente lunghe in modo da poter prevedere un secondo FAN DUCT support alla destra dell’Hot End in caso si desideri una stampante dedicata unicamente alla stampa di oggetti in PLA. Al momento posso aggiungere che un solo ventilatore per il raffreddamento del PLA è sufficiente.
In un secondo momento potrete sbizzarrirvi a creare dei fanduct più performanti.
Ora è la volta del FAN DUCT assemblato prima con il ventilatore e il FAN Grid.
Questo FAN DUCT convoglia l’aria di raffreddamento sulla parte alta dell’Hot End in modo da evitare un eccessivo riscaldamento di questo e scongiurare l’accidentale fusione del corpo estrusore in ABS.
Si tenga presente che la parte finale dell’Hot End raggiunge temperature di 200-250 gradi che sono in linea di massima le temperature di fusione del PLA e dell’ ABS e durante la stampa il calore andando naturalmente verso l’alto, tende a riscaldare la parte superiore dell’Hot End che pur essendo dissipata grazie alle alettature in alluminio non lo è a sufficienza e può provocare due problemi:
1) il filamento che scorre all’interno si scalda prematuramente e raggiunge la densità di una poltiglia che intasa irrimendiabilmente il condotto costringendo a smontare pezzo per pezzo l’Hot End.
2) L’eccessivo riscaldamento causa lo scioglimento del corpo estrusore in ABS o peggio ancora se stampato in PLA con il rischio concreto di dover buttare via tutto alla prima stampa.
Perciò prima di intraprendere la stampa verificare che il ventilatore di raffreddamento dell’Hot End si accenda e giri regolarmente alla massima velocità appena si accende la stampante.
Riprenderemo questo argomento nei post successivi parlando dei collegamenti elettrici.
La figura illustra le posizioni ammesse del fan duct durante le operazioni con la stampante.
Posizione 1) Fan Duct orientato direttamente sull’Hot End
Quando si attende il riscaldamento prima della stampa e durante la stampa.
Praticamente SEMPRE.
Posizione 2) Dopo una stampa se si vuole accelerare il raffreddamento dell’Hot End
Ricordarsi poi di riportarlo in posizione 1 altrimenti si possono avere difficoltà nel raggiungimento della temperatura alla stampa successiva.
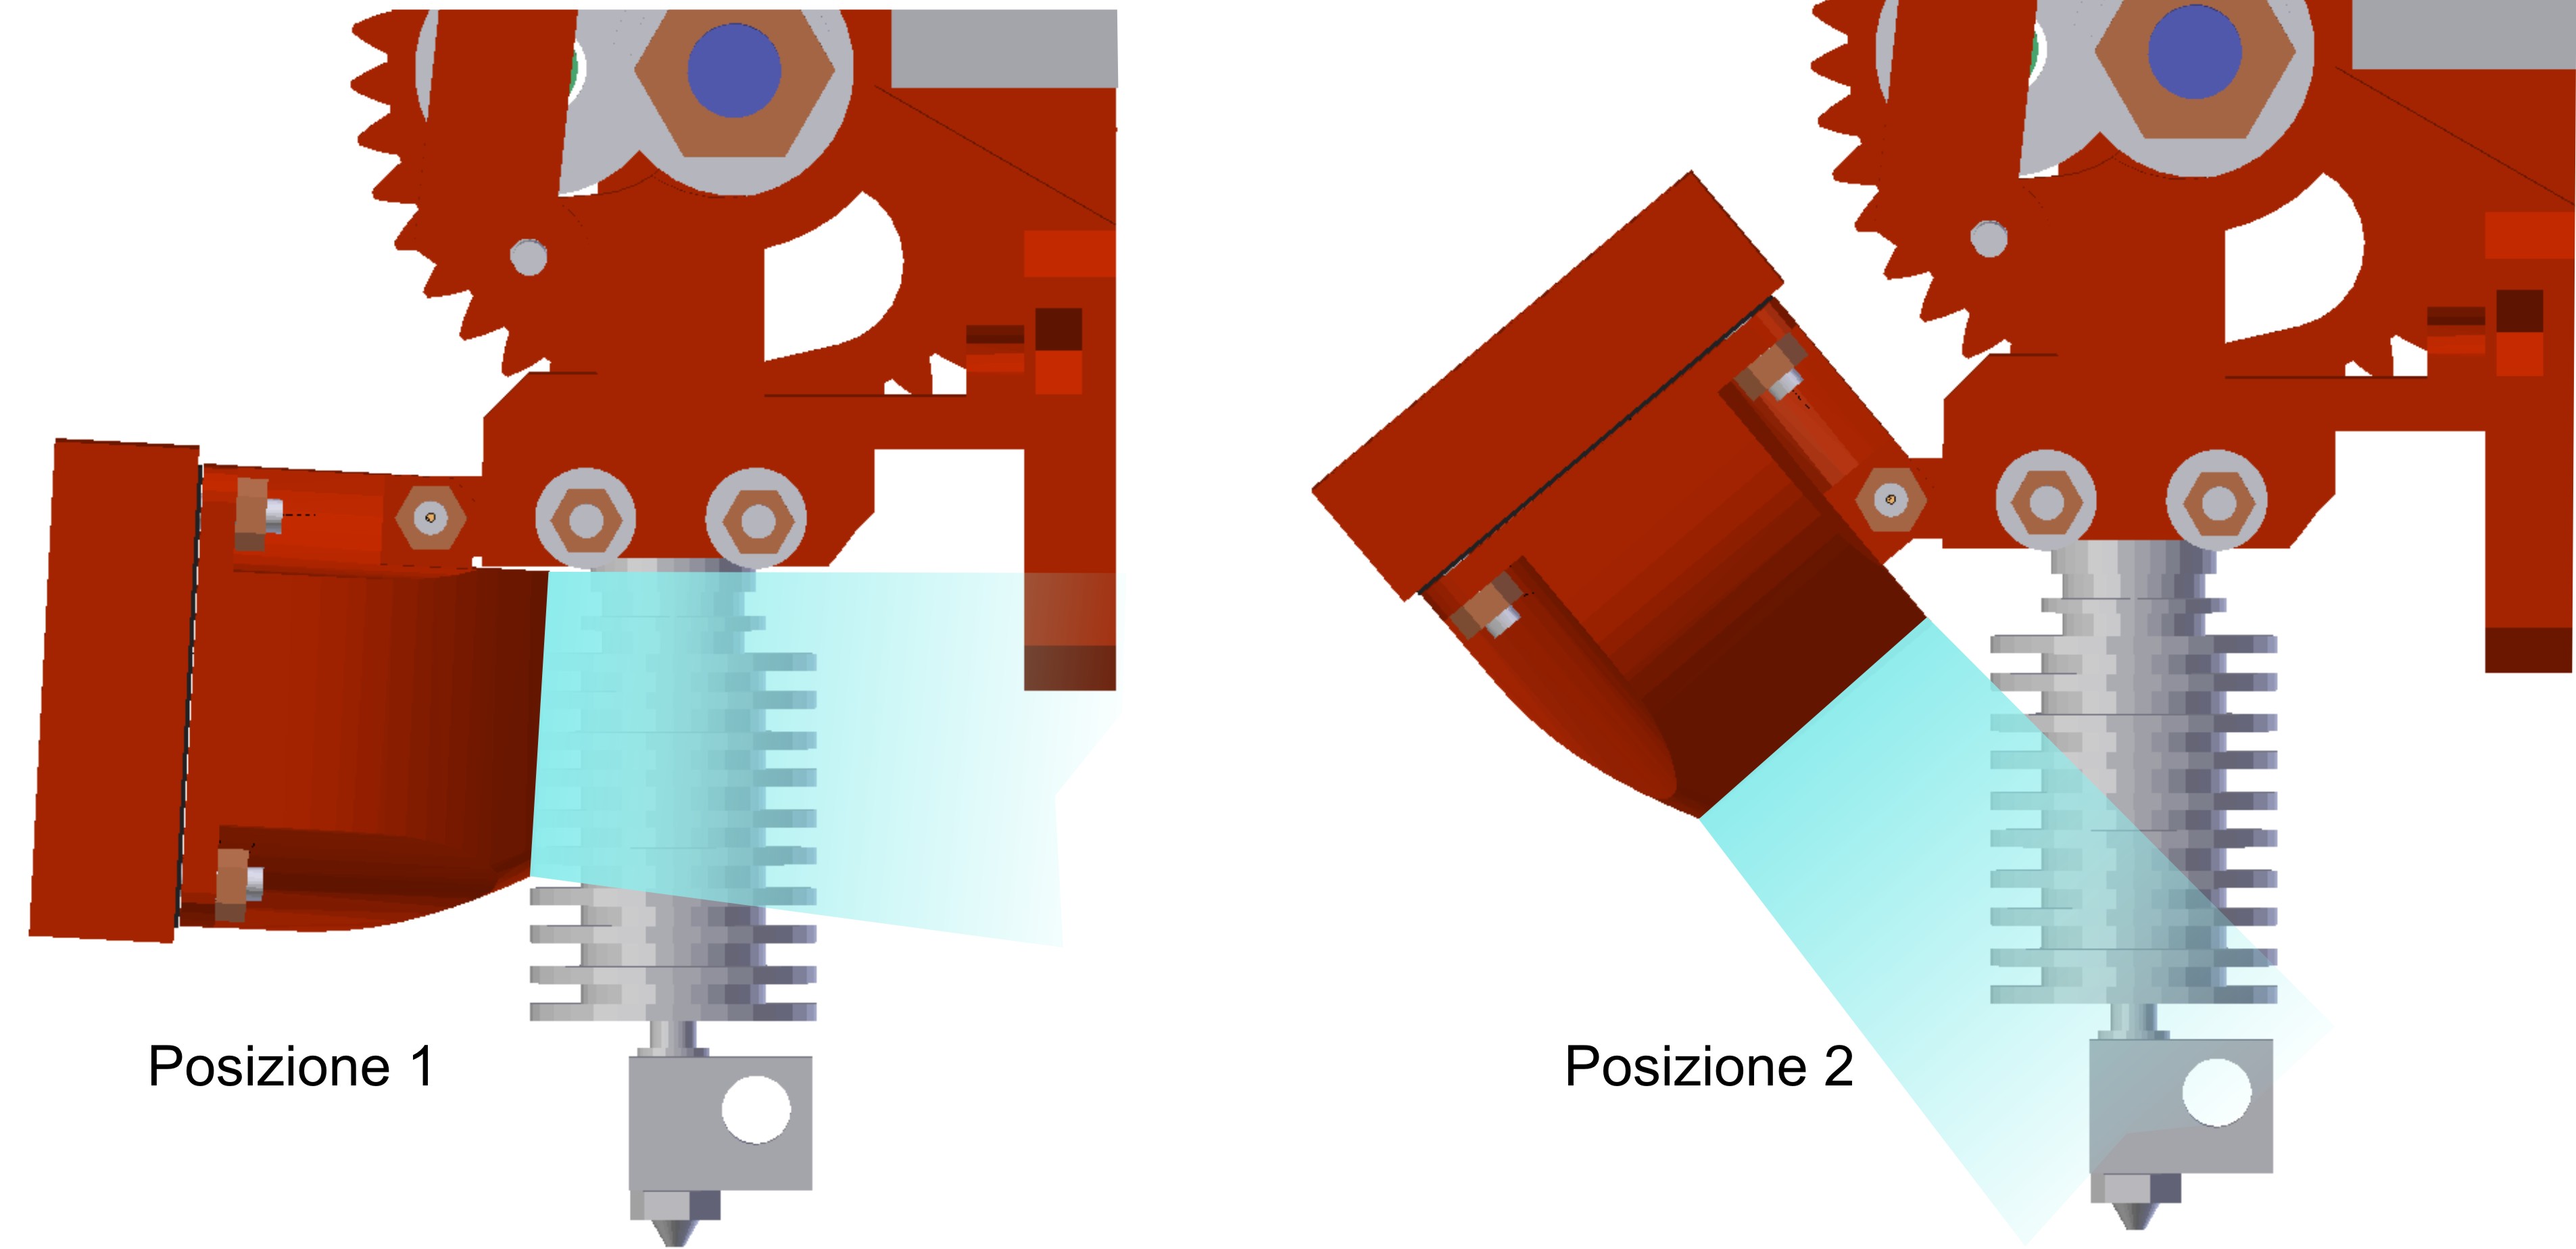
Queste istruzioni non sono valide per l’estrusore E3D V6 che è già dotato di ventilatore e fanduct già montati sul gambo dell’estrusore.
Allo stesso modo assembliamo il FAN DUCT per il raffreddamento del PLA.
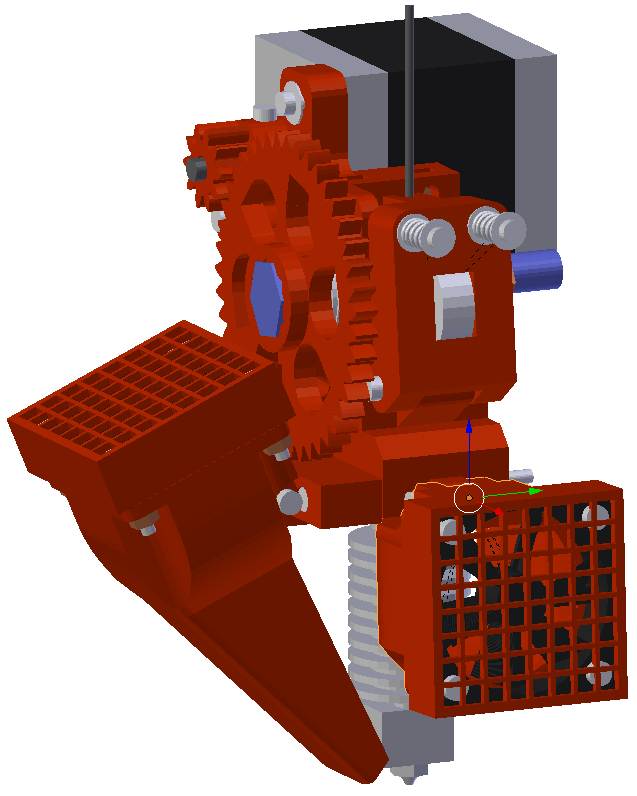 Questo Fan Duct è meno critico del precedente ma assicura ottimi risultati se usato con le stampe di oggetti in PLA. Fare attenzione che l’estremità inferiore del FanDuct non tocchi l’Hot End in quanto potrebbe sciogliersi.
NON SI DEVE USARE per stampare oggetti in ABS, pena layer che si sfogliano.
Va quindi attivato o disattivato in fase di slicing a seconda del materiale utilizzato per le stampe. (Anche questo argomento lo riprenderemo in seguito).
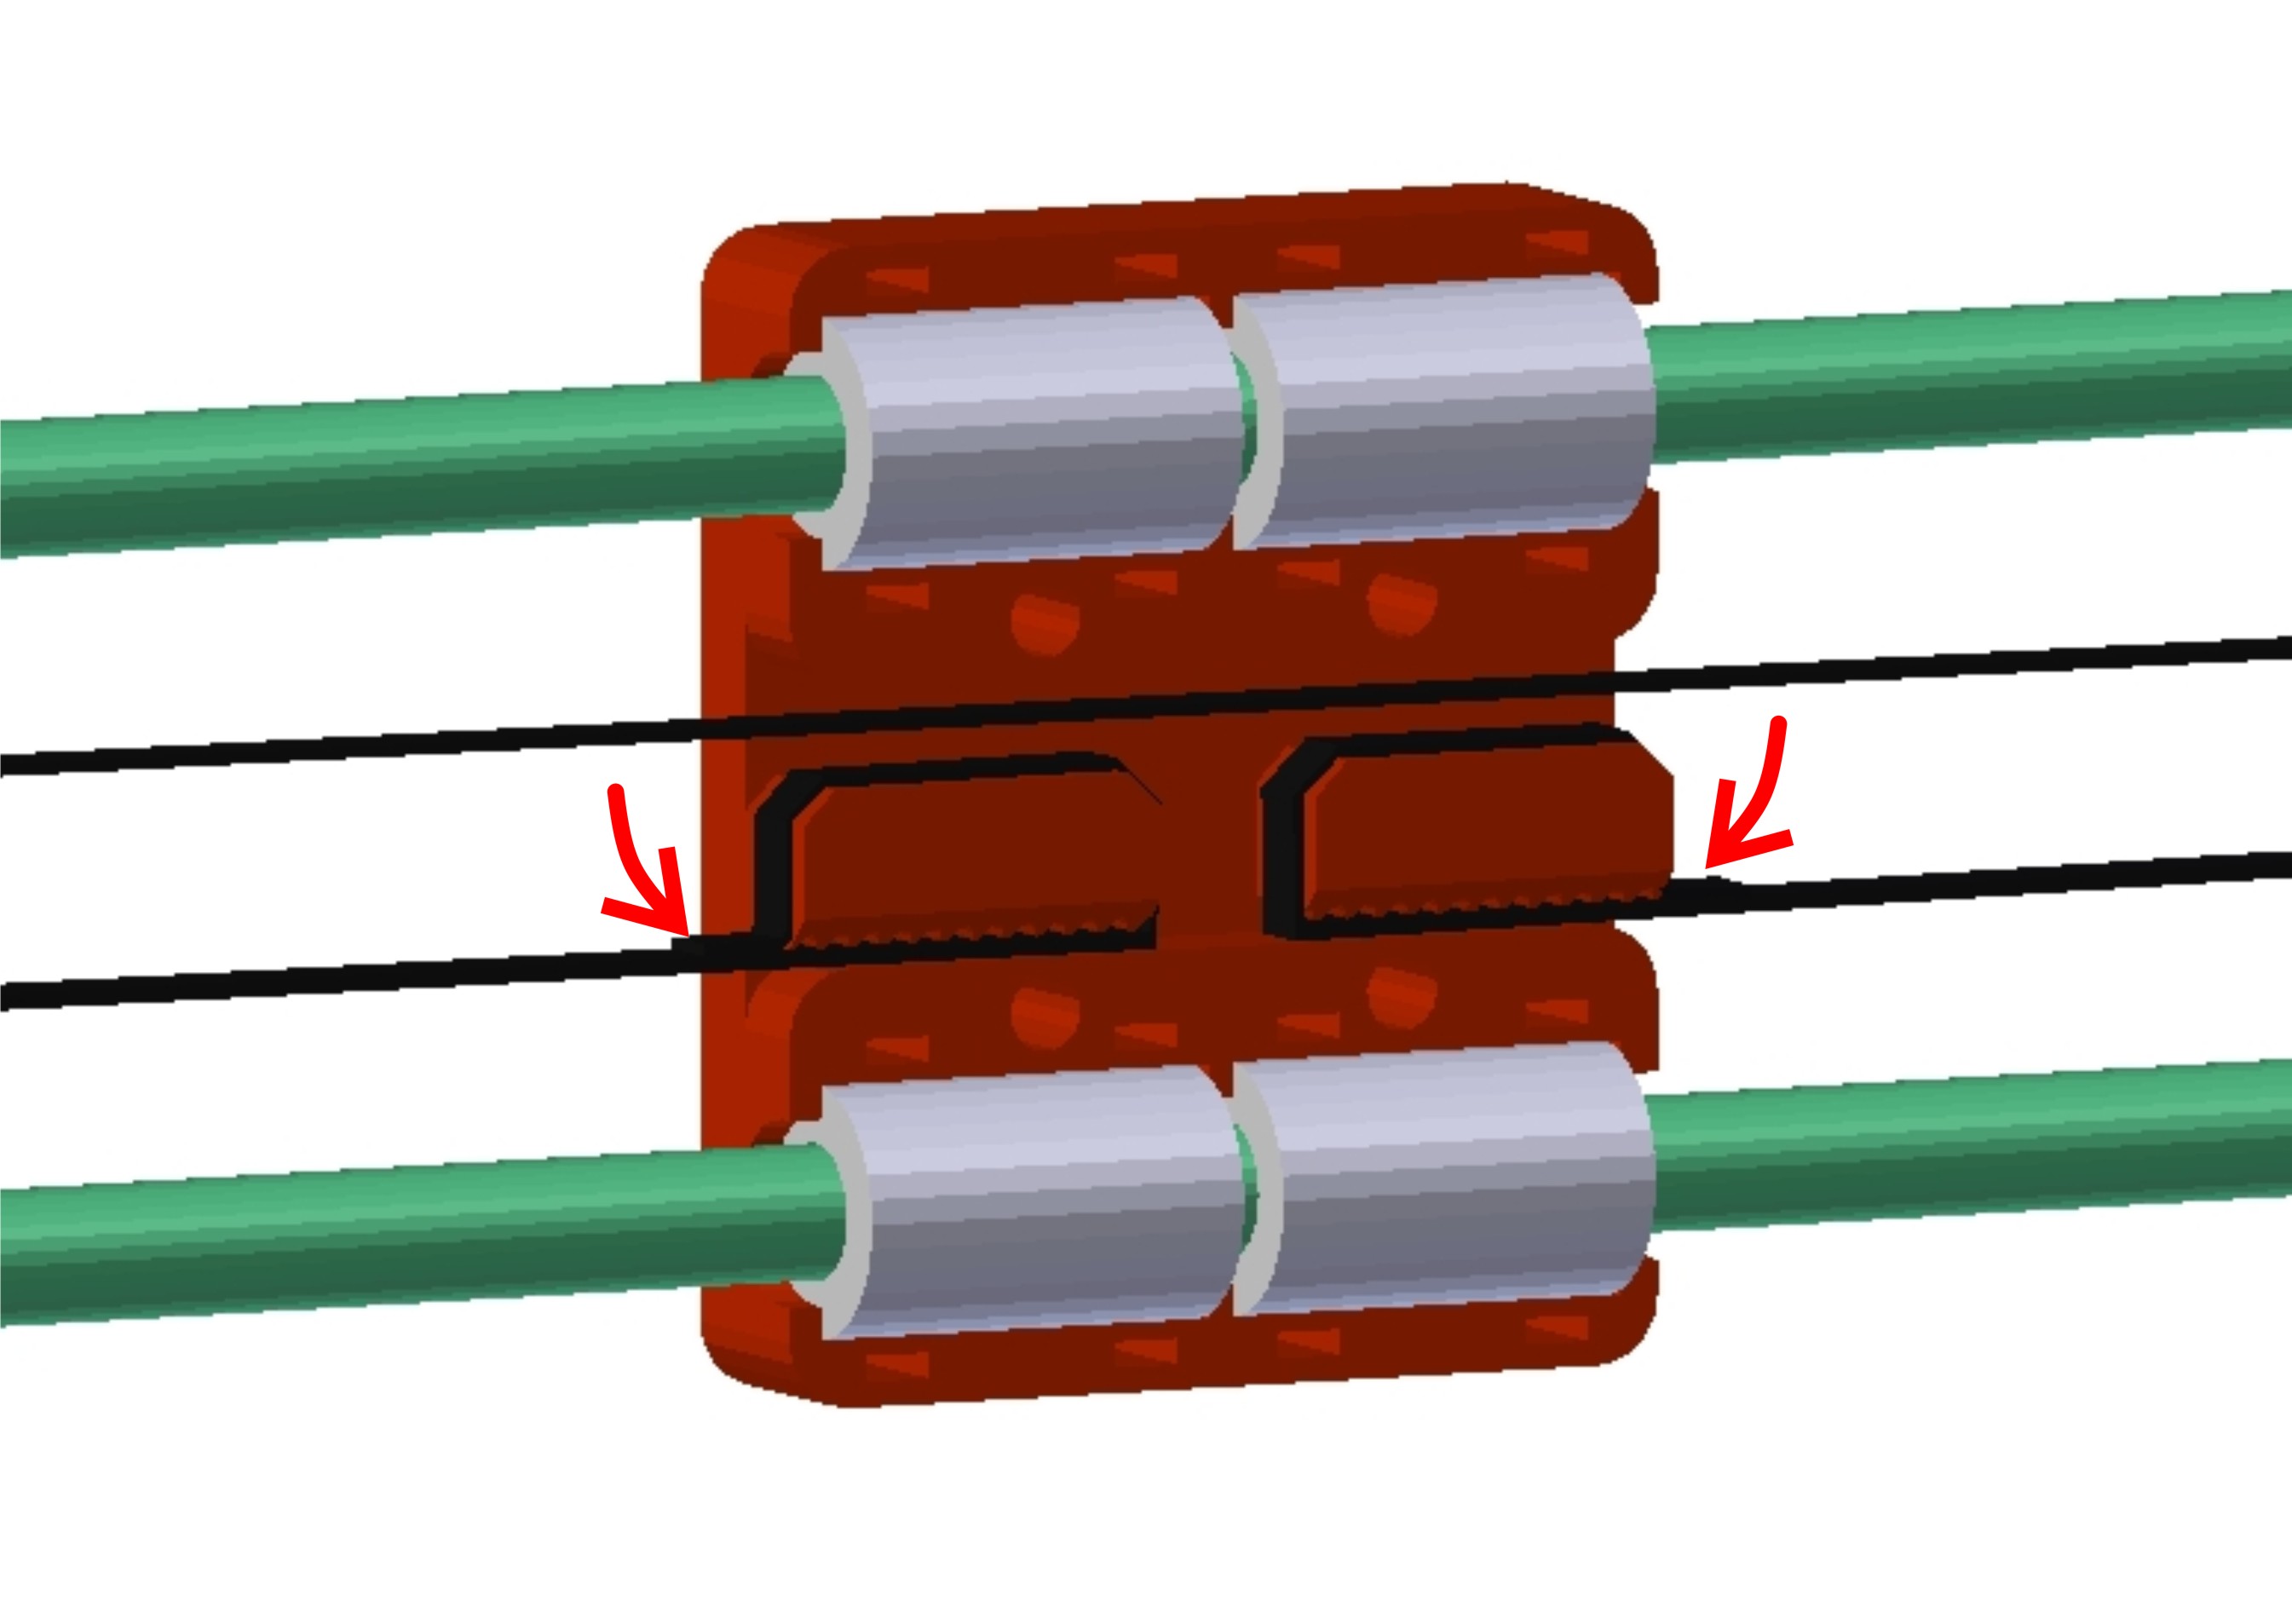
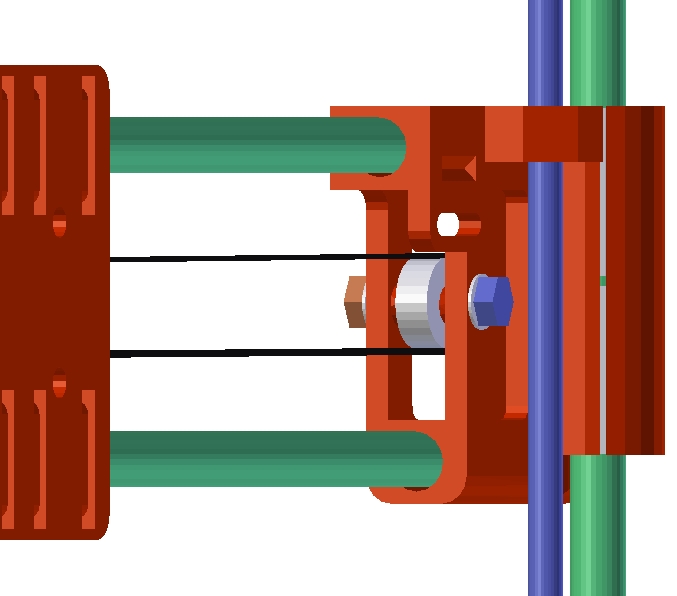
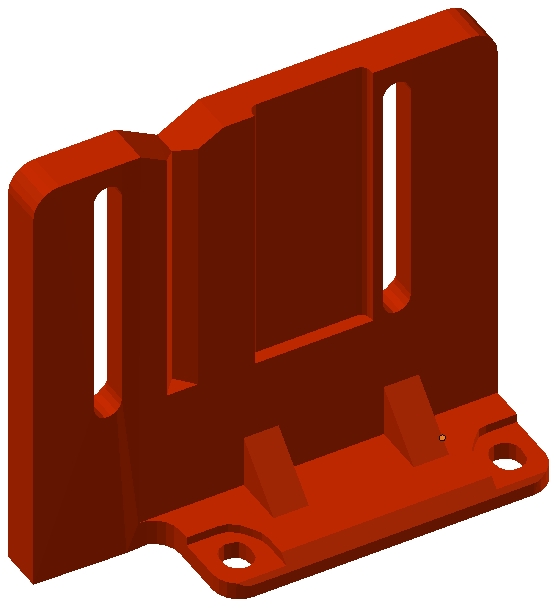
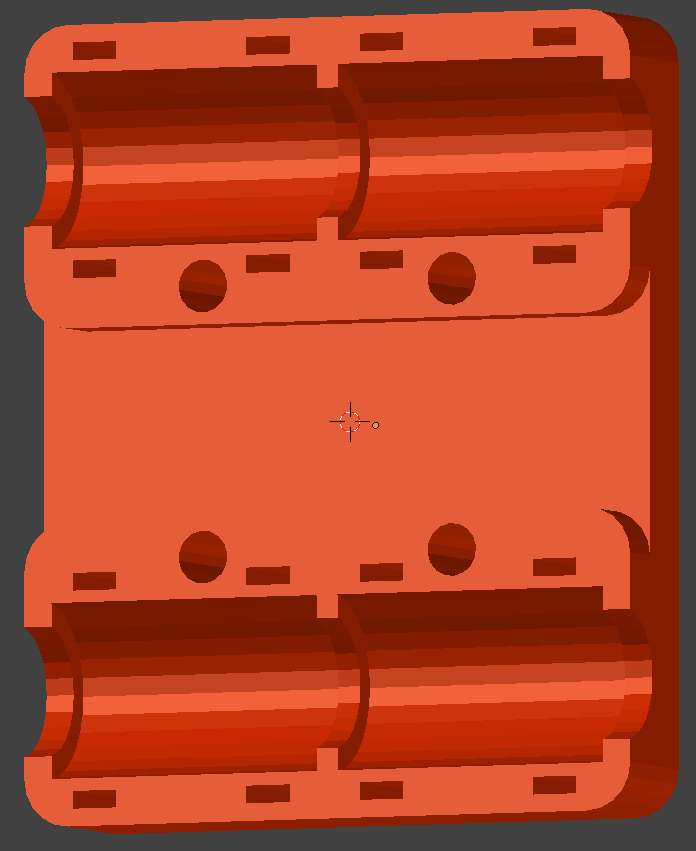
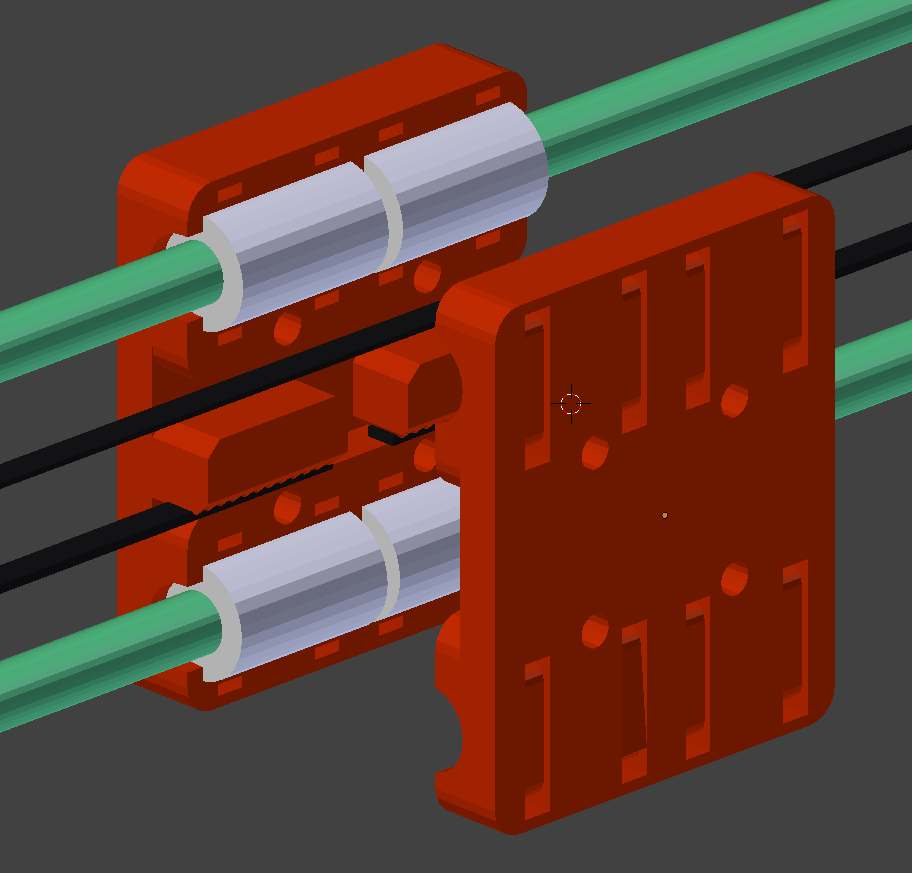
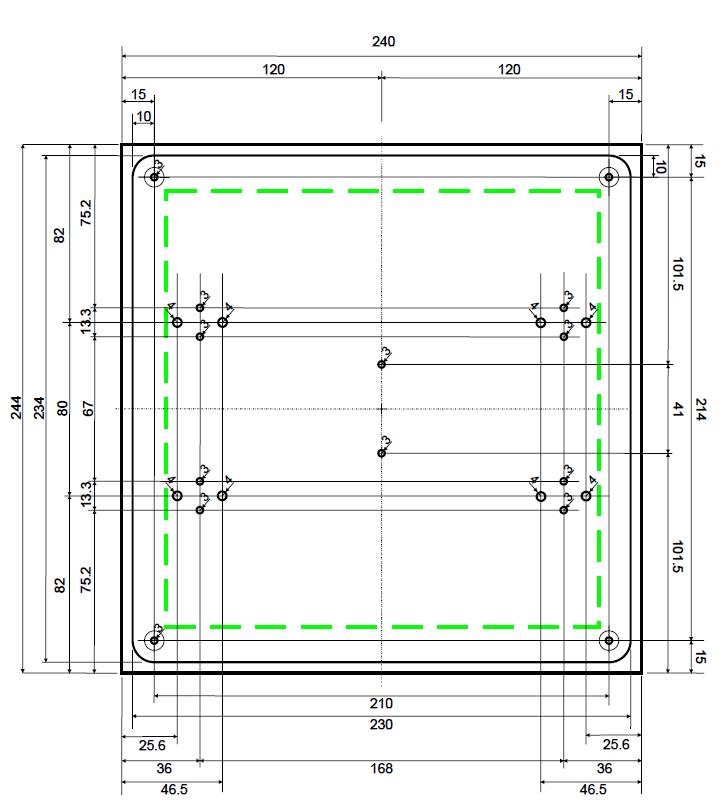
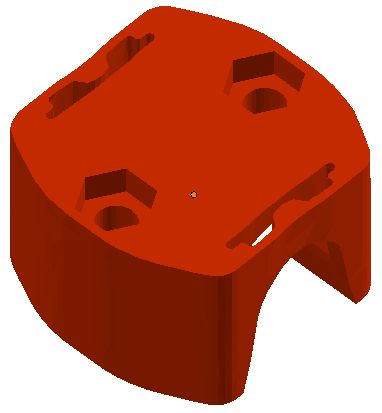
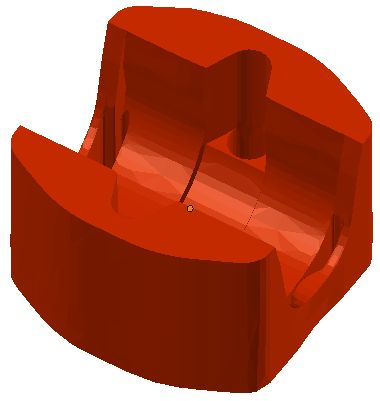
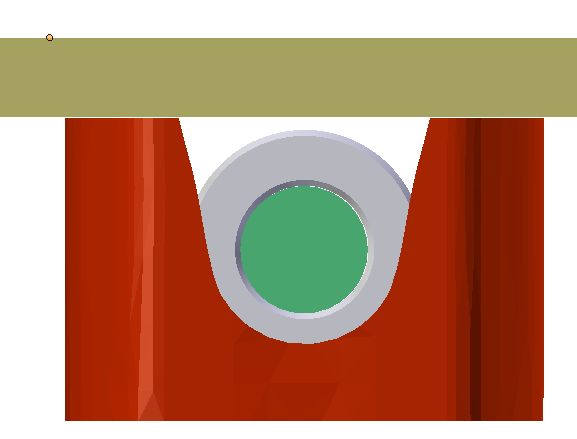
Ora il gruppo estrusore è completo e non resta che fissarlo al carrello dell’asse X al quale eravamo rimasti nel post precedente Assemblaggio Meccanico FInale mediante 4 bulloni M4x30 e relativi dadi che andranno infilati nelle feritoie superiori come indicato nelle figure sotto.
In caso di difficoltà nella rotazione dei bulloni/dadi usare delle rondelle di spessore.
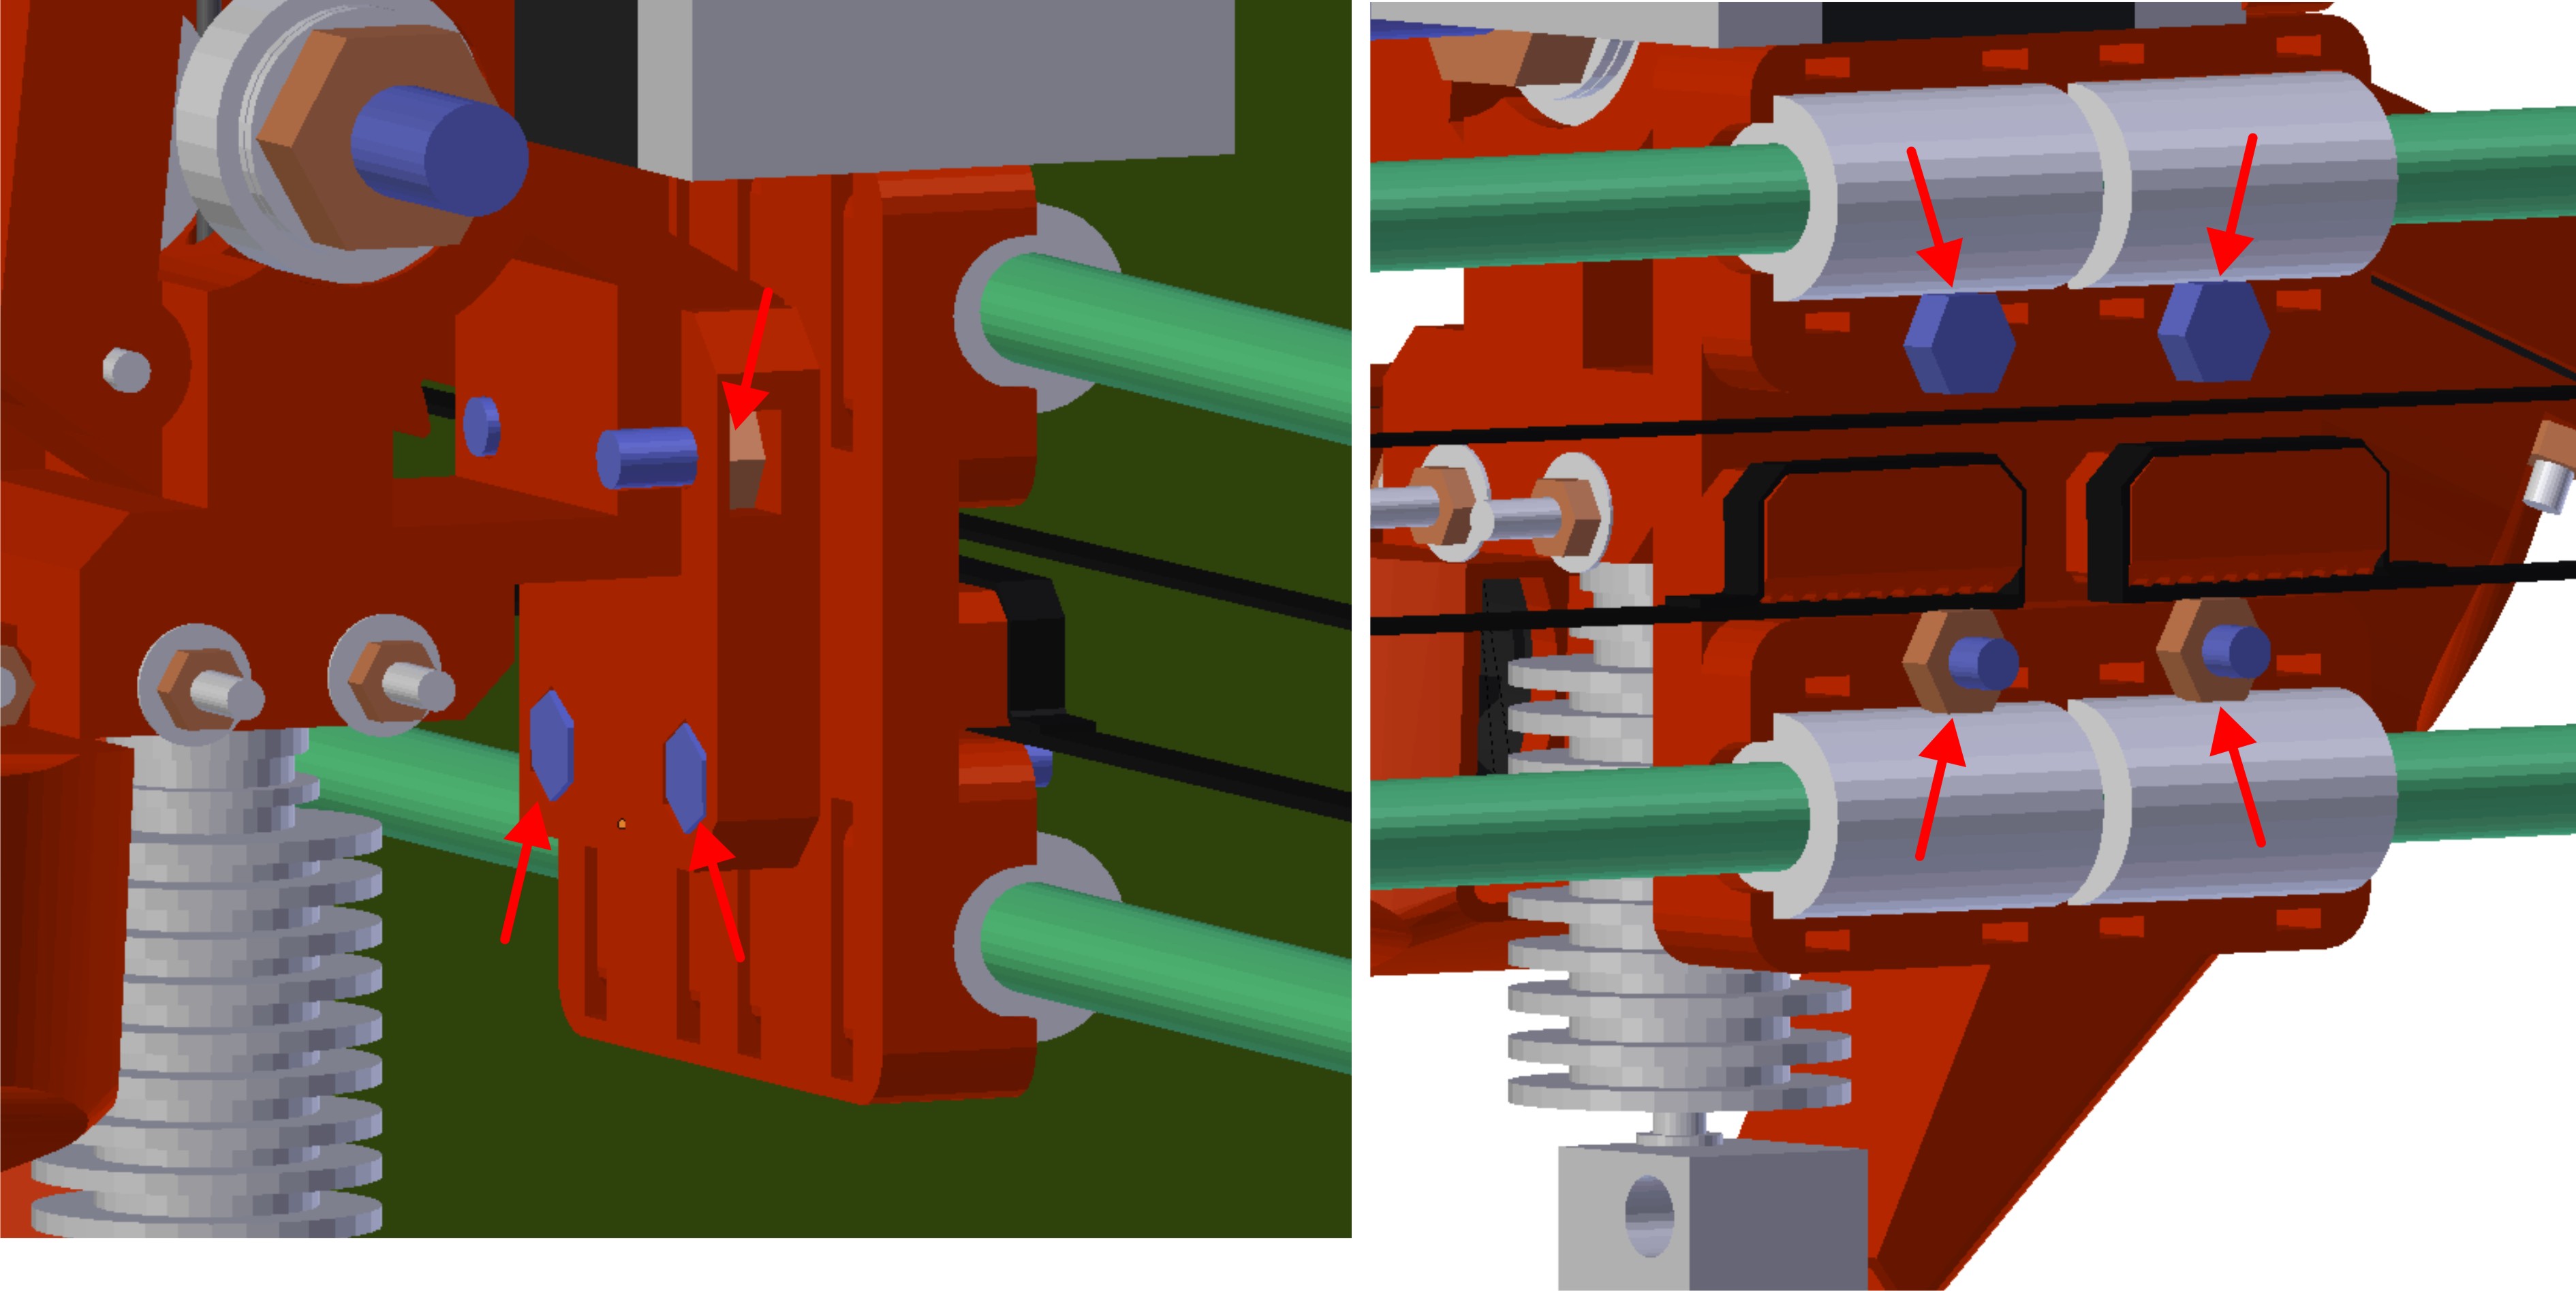

Nel mio caso ho utilizzato viti per la parte superiore e bulloni per la parte inferiore.
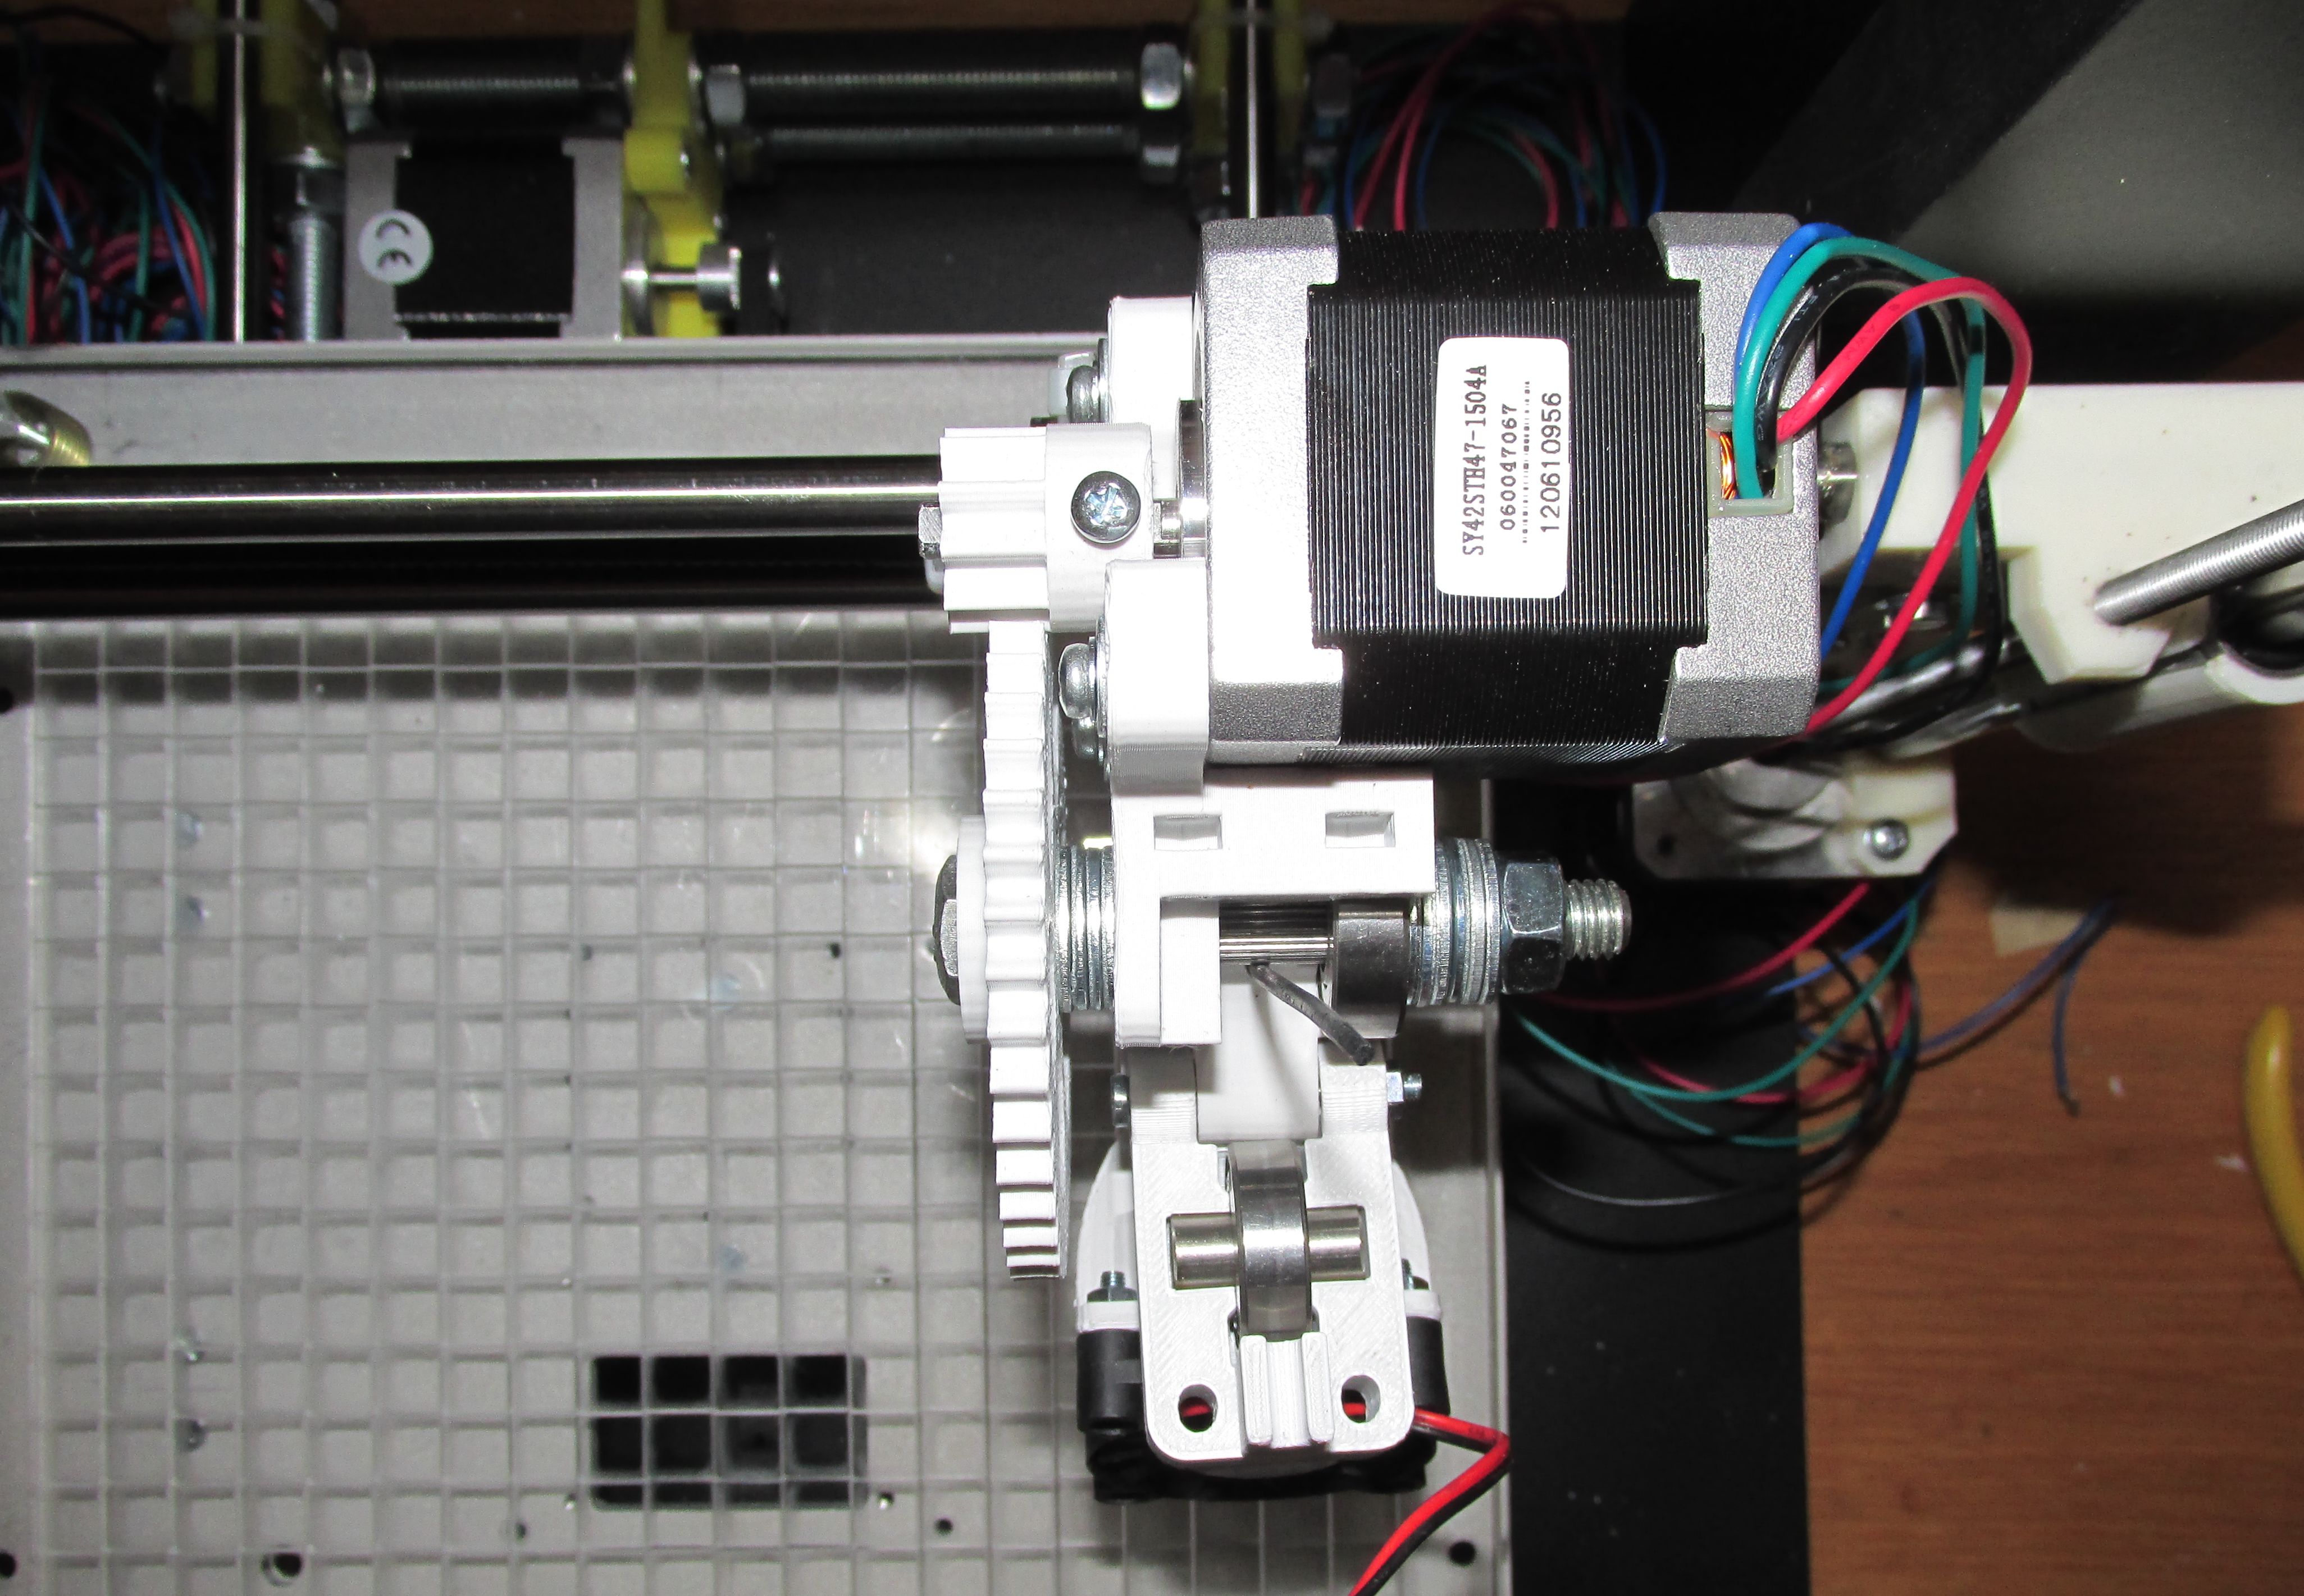
Seguono delle foto reali scattate durante l’assemblaggio e durante le stampe.




Post successivo: L’alimentatore
Post introduttivo e indice.

